How to Oven Roast Garlic Perfectly: Step-by-Step Guide
Introduction to Oven Roasted Garlic
Home cooks can easily prepare oven roasted garlic by baking a whole garlic bulb until the cloves turn tender, golden, and deeply flavorful. This simple technique transforms the sharp, pungent bite of raw garlic into a sweet, rich, and spreadable culinary paste that enhances everyday cooking.
Mastering this method unlocks a versatile ingredient that elevates elevated weekday lunches and high-protein meal prep bowls with minimal effort. This guide covers everything needed to properly trim, season, wrap, and bake garlic bulbs, alongside practical storage tips for your weekly cooking routine.
Essential Tools and Ingredients for Roasting Garlic
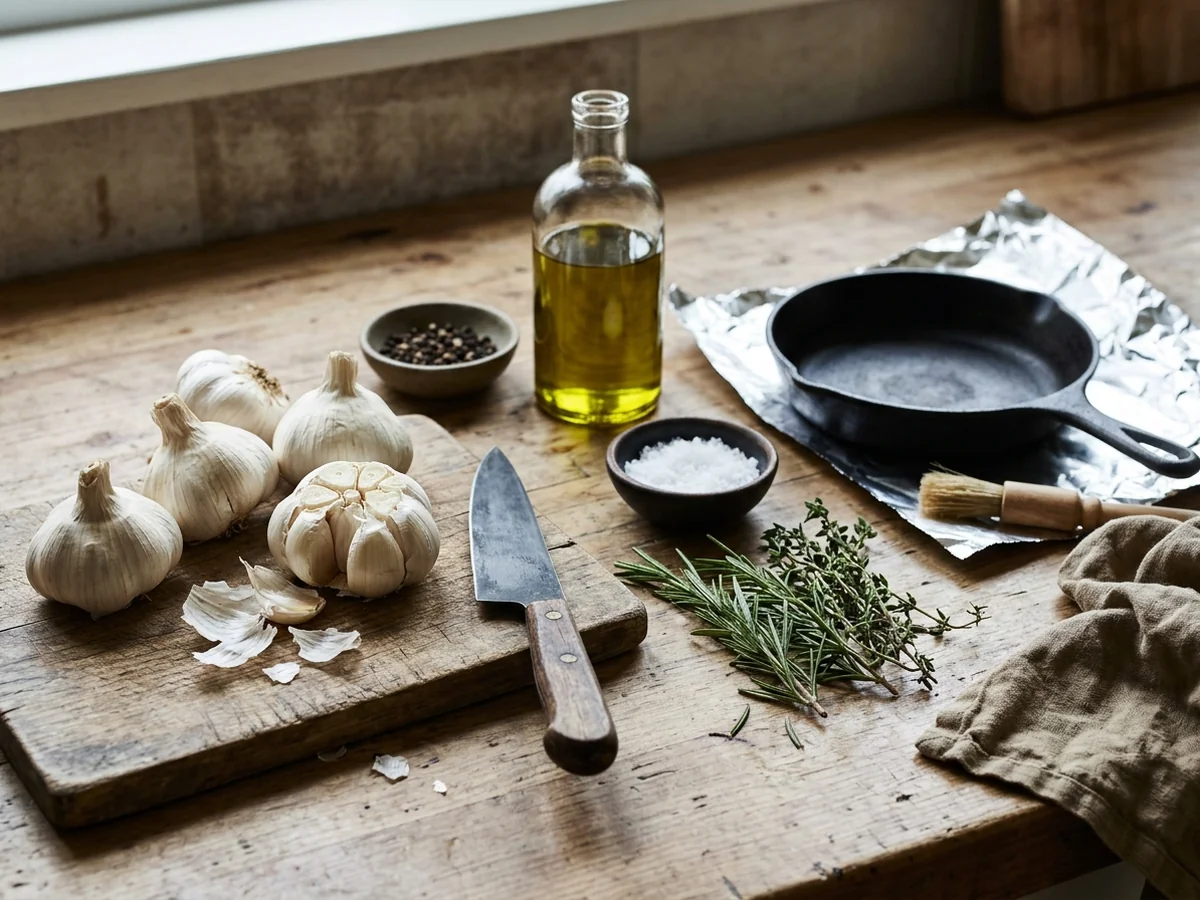
Making buttery and caramelized oven roasted garlic at home requires just a few basic kitchen supplies and fresh ingredients. Gathering the necessary items before you begin cooking keeps the preparation smooth and organized, allowing you to focus on achieving that rich flavor for your weekday meals or prep bowls. Selecting quality components makes all the difference in the final texture.
To prepare your whole garlic bulb properly, pay attention to the condition of the outer layers. Loose or moldy skins indicate older produce that may dry out during the baking process instead of turning soft and spreadable.
- A fresh whole garlic bulb featuring tight, dry papery layers to ensure the best flavor and structural integrity during heating.
- Extra virgin olive oil to generously drizzle over the exposed cloves, providing rich moisture and helping caramelize the natural sugars.
- Kosher salt to season the cloves and enhance their sweet profile.
- A sturdy cutting board to provide a stable surface for trimming.
- A sharp chef knife to cleanly slice off the top of the garlic bulb, typically removing about one quarter of an inch to expose the tips of the cloves.
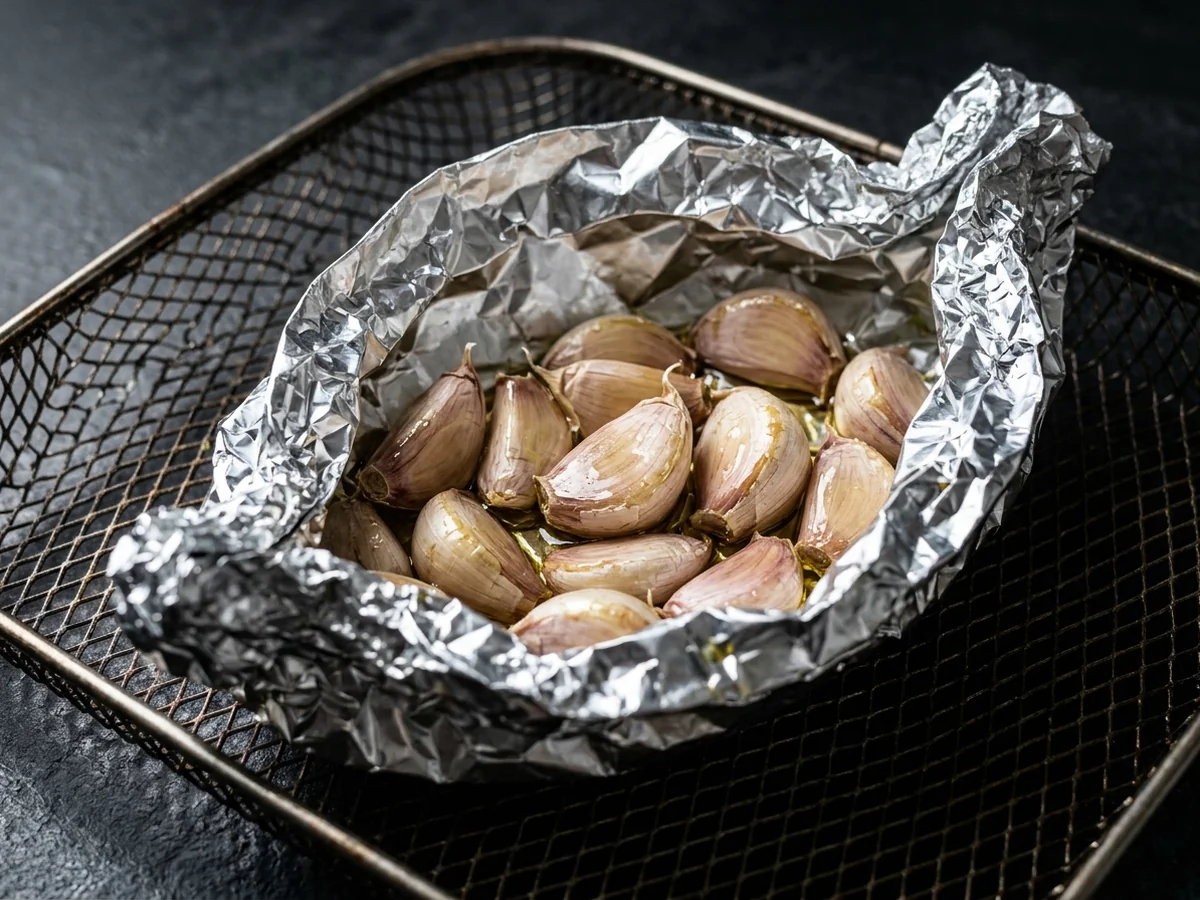
- Sheets of aluminum foil to tightly wrap the garlic, which traps steam and ensures proper heat distribution while inside the oven or when making roasted garlic in an air fryer.
A common mistake during preparation is using too little oil or skipping the salt entirely, which leaves the finished cloves tasting dry or flat. Make sure every exposed clove receives a visible coating of extra virgin olive oil before sealing the aluminum foil tightly around the bulb. If you are preparing batches for high-protein prep bowls, having extra baking sheets and foil ready streamlines the process.
Preparing and Trimming the Garlic Bulb
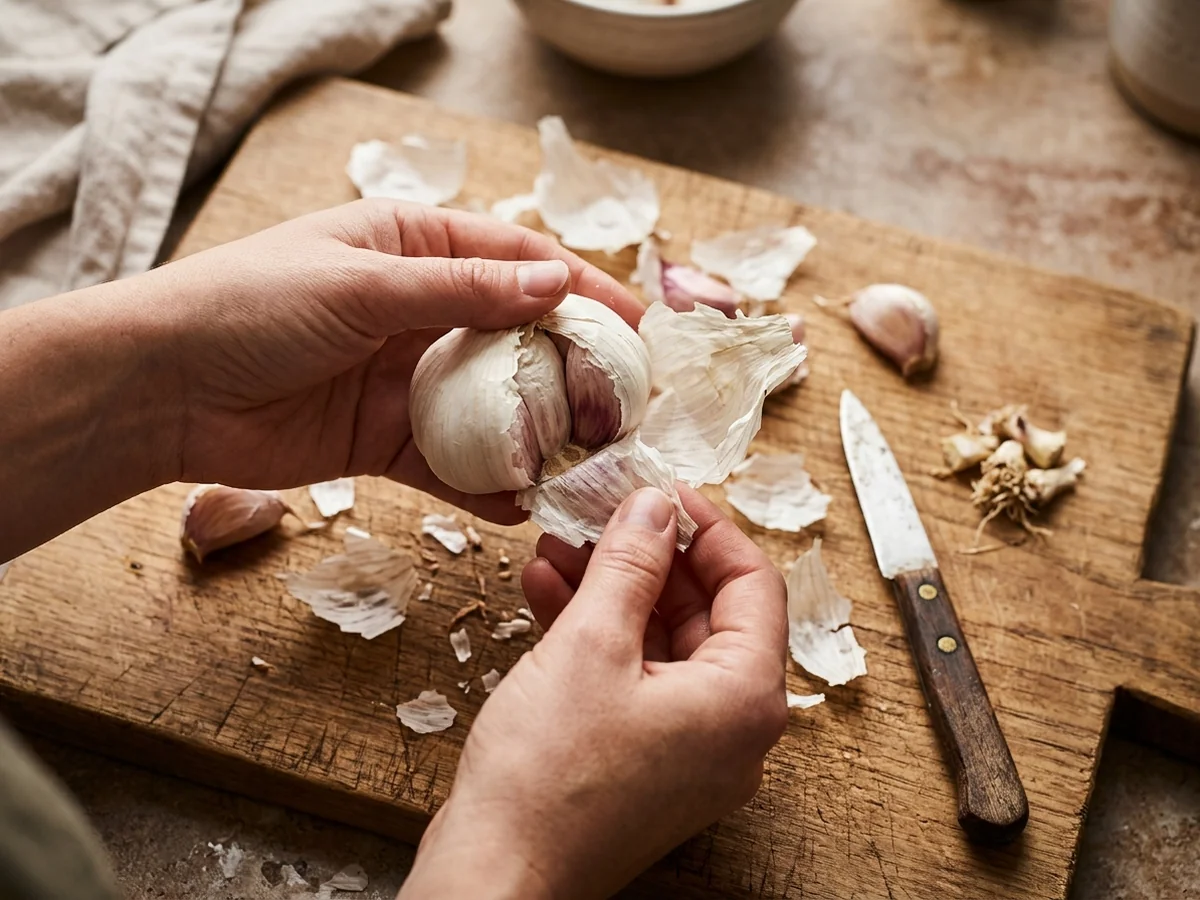
Preparing a whole garlic bulb for the oven starts with gentle handling to ensure your oven roasted garlic turns out tender and sweet. Begin by stripping away the loose, dry outer layers of papery skin. You want to expose the individual cloves while leaving the overall head intact and tightly bound together.
A common mistake during prep is peeling away too much of the protective skin. Keep the lower root plate completely untouched. This structural base is what holds the cloves securely in place while they cook, preventing them from falling apart on your cutting board or baking sheet.
Next, place the bulb on a stable cutting board and take a sharp chef knife. Typical practice suggests slicing about one quarter of an inch off the top of the garlic bulb to expose the tips of the cloves underneath. This simple cut is essential because it allows direct heat to reach the interior and gives you an opening to drizzle extra virgin olive oil deep into the bulb.
If you rush this step or use a dull knife, the cloves can crush unevenly instead of getting a clean trim. Taking a moment to prep carefully ensures every single clove caramelizes evenly and absorbs your seasonings efficiently before you wrap everything in aluminum foil.
Seasoning and Wrapping in Aluminum Foil
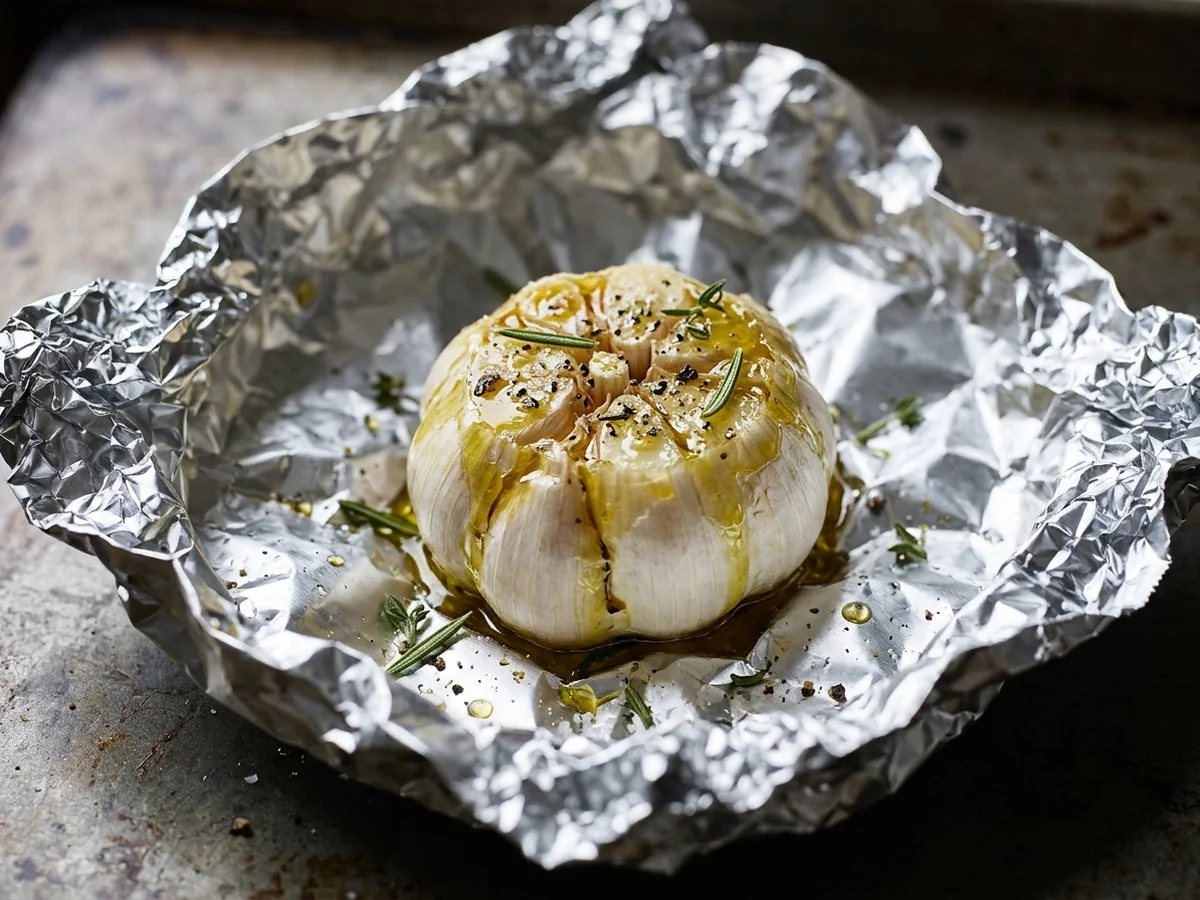
Seasoning the bulb involves adding extra virgin olive oil generously over the exposed cloves, allowing the oil to sink down between them to enrich the flavor. This step ensures that every single clove absorbs moisture and richness while it bakes. Using a quality oil helps create that signature buttery texture home cooks look for when preparing oven roasted garlic.
Applying Oil and Salt
Sprinkle a pinch of salt over the top before sealing the aluminum foil securely around the bulb to trap steam. That tight seal creates a roasting environment where the garlic softens completely into a spreadable consistency. Keeping the foil snug ensures that moisture stays inside, which prevents the cloves from drying out or burning during the heating process.
Securing the Foil Packet
A common mistake when seasoning is using too little oil or leaving gaps in the foil package. If the foil is loosely wrapped, steam escapes, resulting in dry and tough cloves instead of the desired tender result. Make sure the edges are crimped tightly together to lock in the steam, creating a reliable setup for roasted garlic in olive oil that turns out perfectly every time.
Preventing Common Wrapping Errors
Home cooks often run into trouble when the baking sheet is crowded or when individual cloves are exposed to direct dry heat. Wrapping the whole garlic bulb securely in a heavy duty sheet of aluminum foil protects the outer layers from scorching before the center reaches the proper tenderness. Taking an extra moment to twist the top of the foil packet creates a neat pouch that holds all the flavorful juices right where they belong.
Baking Temperatures and Timing Guidelines
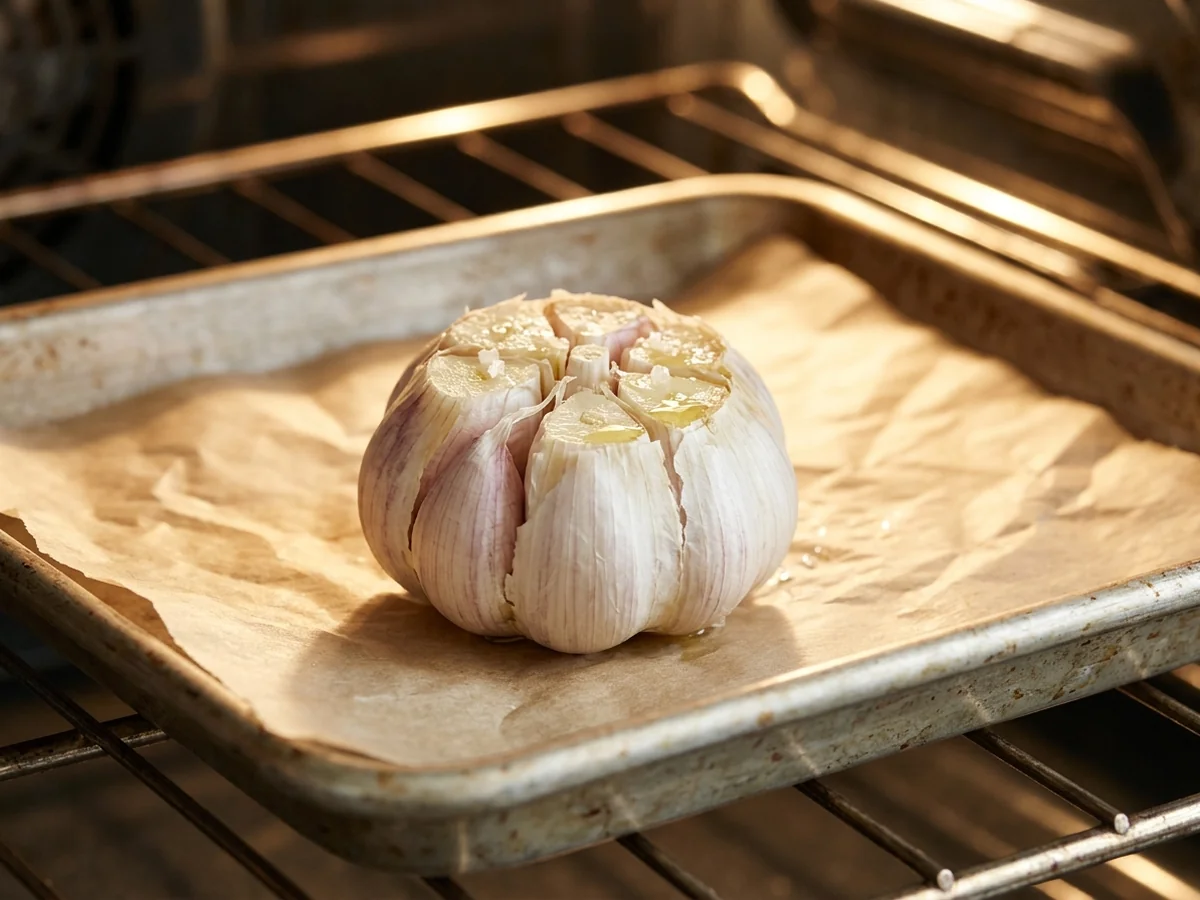
Achieving perfectly tender oven roasted garlic requires attention to heat levels and timing so the natural sugars caramelize without burning the exterior. While methods can vary, typical guidance involves slicing about one quarter of an inch off the top of a whole garlic bulb to expose the individual cloves before drizzling them with extra virgin olive oil and wrapping the bulb securely in aluminum foil.
When figuring out how long to roast garlic at 350 degrees, home cooks generally expect the process to take anywhere from forty to sixty minutes inside a preheated oven. The exact duration depends on the size of the bulb and the moisture content of the allium. Baking individual cloves or smaller bulbs may require less time, whereas extra-large bulbs need the full hour to break down completely.
Watch for key visual cues to know when your garlic is fully cooked. You want to see deeply golden brown cloves that have softened completely into a spreadable paste. The texture should feel tender and yielding when gently pierced with the tip of a knife or a fork. Common mistakes include opening the foil too early before the internal sugars have time to develop their signature sweetness, or using an oven temperature that is too high, which can scorch the paper-thin skins and bitter the cloves.
Alternative Methods: Individual Cloves and Air Frying
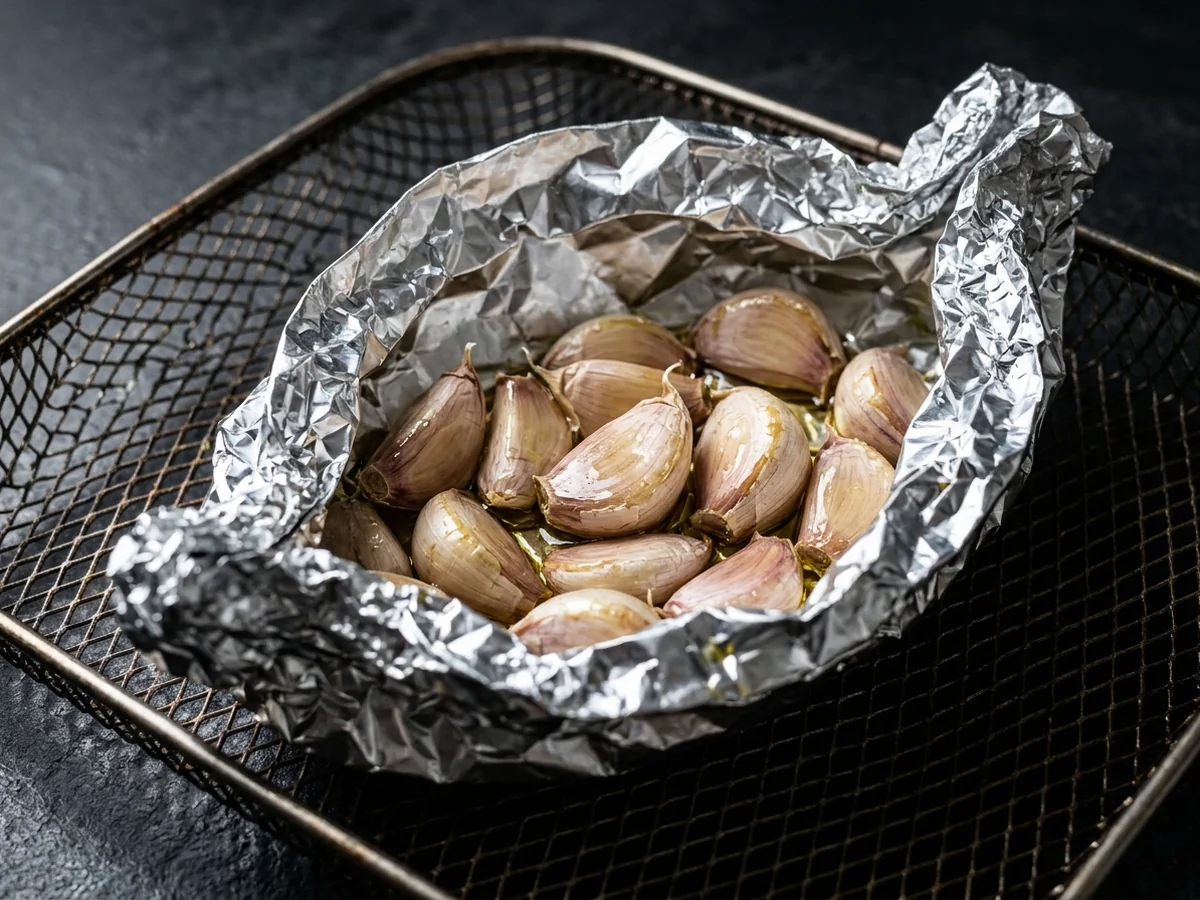
Roasting Individual Cloves in Small Foil Packets
Individual cloves roast faster when wrapped in separate small foil packets instead of preparing a whole bulb. Separate the unpeeled cloves, coat them lightly in oil, and seal them tightly inside small pieces of aluminum foil before baking.
Using a Muffin Tin Setup
A muffin tin setup holds multiple bulbs or foil packets securely in place without tipping over on the baking sheet. This method works well when preparing several portions at once for weekly meal prep.
Making Roasted Garlic Air Fryer Style
Smaller quantities cook quickly using the roasted garlic air fryer technique for fast preparation without heating the main oven. Set the appliance to a moderate temperature and check the cloves frequently until they turn tender and golden brown.
Different cooking techniques offer distinct benefits depending on batch size and available kitchen equipment.
| Method | Best For | Setup Required |
|---|---|---|
| Individual Foil Packets | Faster batch prep | Small aluminum foil squares |
| Muffin Tin | Multiple bulbs | Standard metal muffin pan |
| Air Fryer | Small quantities | Countertop air fryer basket |
Selecting the right approach helps streamline weekday cooking routines.
Bulk Roasting Methods for Meal Prep
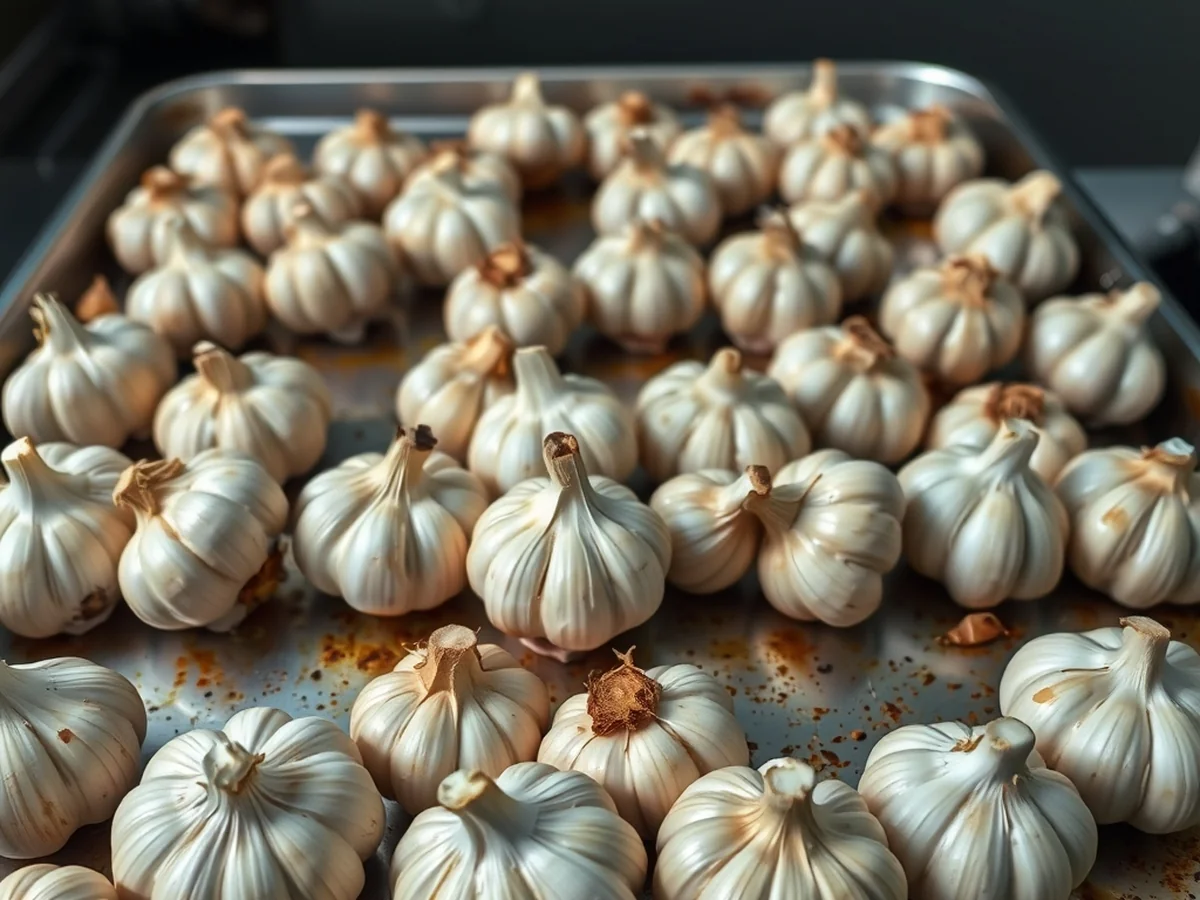
Roasting multiple whole bulbs simultaneously on a baking sheet provides an efficient way to stock up on flavorful alliums for high-protein prep bowls. Arranging several whole garlic bulb units across a single baking sheet maximizes efficiency so you can prepare large batches for weekday lunches without firing up the oven multiple times.
Maximizing Oven Space and Efficiency
Managing oven space effectively comes down to how you arrange your baking sheet alongside other meal prep ingredients. Placing the pan on the center rack ensures even heat circulation around every extra virgin olive oil-drenched head of garlic. If you are roasting other items for your weekday lunches at the same time, stagger your racks or group smaller packages tightly together on the cutting board before transferring them.
Preparation and Foil Wrapping Techniques
Wrapping each prepared bulb securely in aluminum foil locks in moisture while they soften in the heat. Common guidance suggests slicing about a quarter inch off the top of each bulb before applying oil and seasonings to expose the individual cloves. You can fit six to twelve whole bulbs on a standard baking sheet depending on your oven dimensions. Once cooled, squeeze the sweet, tender cloves out of their skins and store them in an airtight container for easy addition to your weekly meals.
Storage and Food Safety Considerations
Proper storage ensures your bulk preparations remain safe and flavorful throughout the work week. Keep your prepared alliums in a sealed container in the refrigerator rather than submerging them in oil at room temperature, which prevents potential bacterial risks. This bulk approach streamlines your kitchen routine and guarantees a ready supply of rich oven roasted garlic for every lunch assembly.
Troubleshooting Undercooked or Burnt Garlic
Achieving perfectly tender, sweet oven roasted garlic requires careful monitoring of heat and timing, but mistakes happen easily in the kitchen. Understanding why a batch fails helps home cooks adjust their technique for better results.
Fixing Undercooked Cloves
Rubberiness usually happens when garlic does not spend enough time in the heat, while a sharp flavor often points to insufficient cooking. Softening requires time, so pulling a bulb out too early leaves the cloves crunchy and harsh instead of spreadable. If a batch comes out too firm, simply wrap the bulb back up in aluminum foil and return it to the oven until the cloves yield completely to a gentle squeeze.
Rescuing Burnt Garlic
Burnt paper or scorched tips mean the heat was too high during the process, or the exposed top lacked adequate moisture protection from extra virgin olive oil. Salvaging a bitter batch can be tricky, but you can often rescue slightly overcooked bulbs by discarding the charred outer layers and using only the mildest inner cloves for cooking. Proper preparation with a sharp chef knife, cutting board, and a generous drizzle of oil prevents scorching.
Preventing Common Quality Issues
To avoid recurring problems with oven roasted garlic cloves, always ensure the exposed top of the whole garlic bulb receives enough oil before sealing it tightly in foil. Careful monitoring of your baking sheet ensures you pull the garlic at the exact moment the cloves turn golden and buttery.
Extracting, Storing, and Food Safety Guidelines
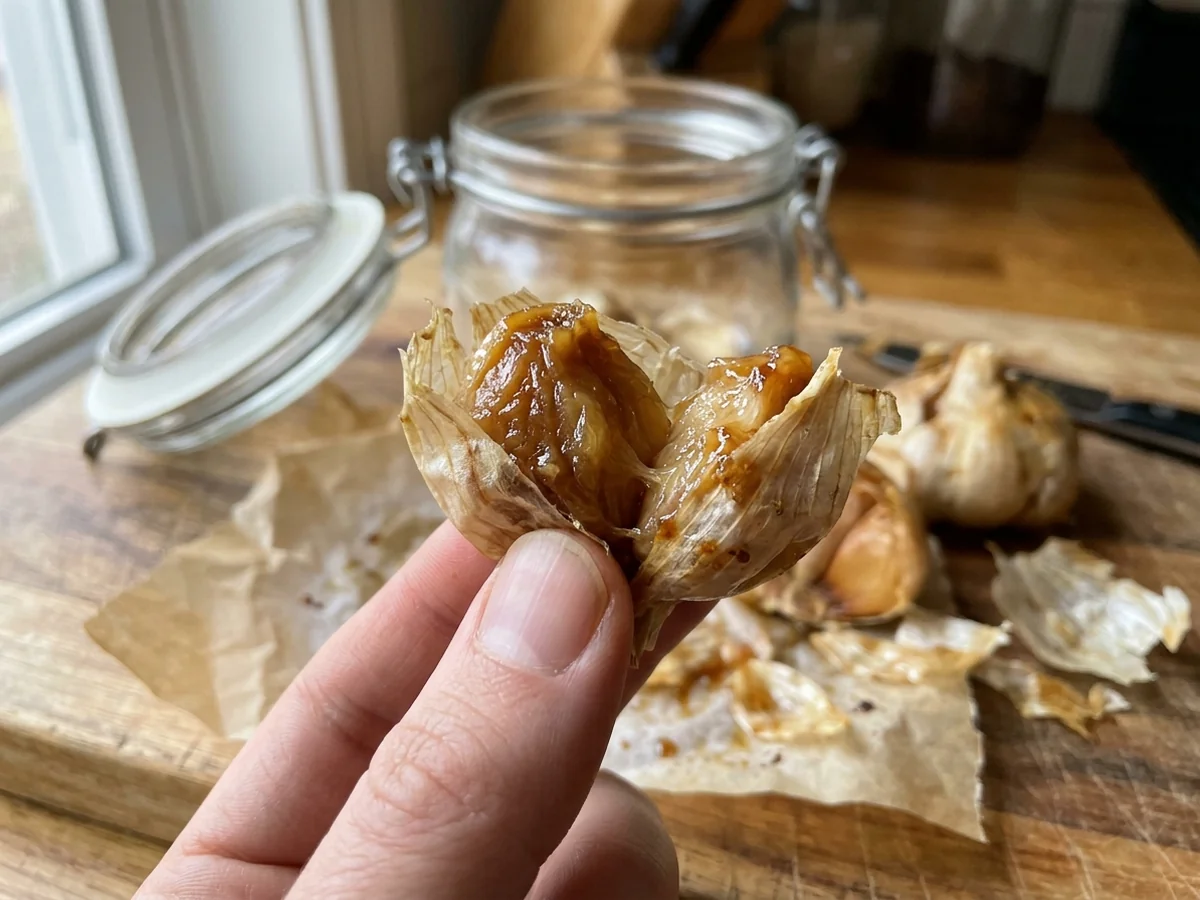
Once your oven roasted garlic finishes cooking, let the bulb cool completely before handling. Squeezing out the tender bulb contents requires simple physical pressure. You can gently press each cooled clove from the base root end upward to pop the buttery paste straight out of its papery skin. Following proper preservation rules keeps your flavorful kitchen creations safe to eat during weekly meal preparation.
Storage and Preservation Methods
Home cooks can keep prepared allium paste in the refrigerator for up to several days when stored in a tightly sealed container. For longer storage, freeze individual portions in a silicone tray before transferring the solid pieces to a freezer bag. This method lets you easily grab single servings for weekday lunches or high protein prep bowls without thawing the entire batch.
Critical Food Safety Rules for Garlic in Oil
Storing fresh or cooked allium bulbs submerged in oil at room temperature creates severe botulism risks because garlic is a low acid vegetable grown in the soil. Spores of Clostridium botulinum thrive in oxygen free environments like oil mixtures. To prevent harmful bacterial growth, always keep any oil mixtures strictly in the refrigerator and use them within a few days, or freeze the roasted garlic without oil for extended storage.
Culinary Uses for Roasted Garlic
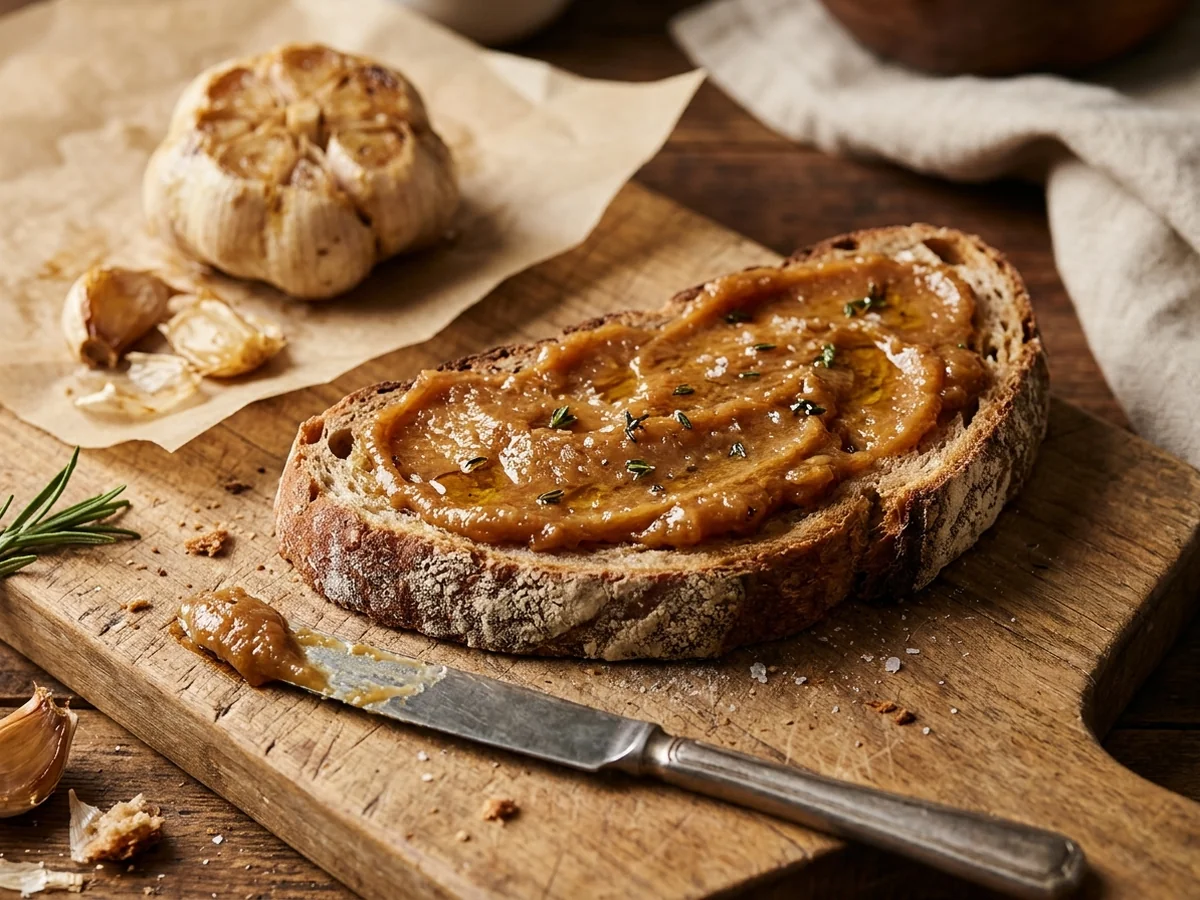
You can transform simple weekday meals and high-protein lunch bowls into gourmet dishes by turning caramelized bulbs into a rich sweet paste or blending the tender cloves into savory recipes. Cooking transforms the sharp bite of raw bulbs into a deeply mellow flavor that enhances both hot dishes and cold preparations without overpowering other ingredients.
When planning your weekly menu, try incorporating the sweet garlic paste into cold grab-and-go meals, spreads, and work lunches for an instant flavor upgrade. It mixes effortlessly into mayonnaise, Greek yogurt dips, and grain bowls. You can also blend cooked garlic cloves into dressings, soups, and finishing butters for extra depth of flavor. This simple addition enriches vinaigrettes, smooth vegetable purees, and savory spreads with a warm, complex character.
To get the best results, start by using a sharp chef knife on a clean cutting board to slice about a quarter of an inch off the top of a whole garlic bulb so the individual cloves are exposed. Drizzle the exposed cloves with extra virgin olive oil before wrapping the bulb securely in aluminum foil and placing it on a baking sheet.
Common mistakes include leaving the bulb unwrapped, which causes the cloves to dry out instead of steaming into a soft paste, or failing to let the bulb cool before squeezing out the tender garlic. Once roasted, you can mash the cloves directly into warm pasta, spread the paste onto artisan bread, or stir it into warm soups for an effortless culinary enhancement.
Frequently Asked Questions
How long does garlic need to be in the oven?
Garlic usually needs about forty to sixty minutes in the oven to turn soft and sweet. The exact duration depends on the size of the bulb and your chosen baking temperature.
How do I make roasted garlic in the oven?
To prepare garlic baked in the oven, slice the top off a whole bulb, drizzle it with extra virgin olive oil, and wrap it securely in aluminum foil before baking. Once tender, let it cool slightly before squeezing the soft cloves out of their skins.
What temperature is best for roasting garlic?
A moderate oven temperature around three hundred fifty degrees Fahrenheit works best for gentle caramelization. This heat level cooks the cloves all the way through without burning the delicate paper skins.
How do I store roasted garlic?
Store roasted garlic cloves in an airtight container in the refrigerator for up to a week, or freeze them in portions for longer keeping. Avoid storing fresh garlic cloves submerged in oil at room temperature due to food safety concerns.
How do I use roasted garlic?
Mash the sweet cloves into butter, stir them into salad dressings, or spread the rich paste directly onto warm bread. You can also blend them into soups and pasta sauces for a deep savory flavor.
How do I roast garlic in bulk?
Arrange multiple heads on a baking sheet or group individual cloves inside separate foil packets to roast a large batch at once. This bulk method saves time when you want to stock your fridge with ready-to-use flavor.
Conclusion
Decide whether you want to roast a whole bulb or separate individual cloves depending on how you plan to use your batch. Once you pull the golden, tender results from the oven, you can easily squeeze the soft cloves into weekday lunches or meal prep bowls. Mastering this baking method transforms simple everyday meals into elevated dishes with almost zero added stress.
You might also like: Hello world!