How to Make Grilled Halloumi Cheese at Home
Introduction to Grilled Halloumi Cheese
Grilled halloumi cheese is a firm, salty cheese that develops a crisp, golden crust while staying solid on the inside when cooked over high heat. In this guide you’ll learn how to slice, season, and grill halloumi quickly, plus a few effortless serving ideas for weekday lunches.
Halloumi, traditionally made from sheep and goat milk in Cyprus and now also from cow’s milk, contains a high protein matrix that prevents it from melting. Cutting the planks to a 1/2‑inch thickness ensures even cooking, and grilling for about 2 to 3 minutes per side creates distinctive grill marks. The whole process, from prep to plate, takes roughly 11 minutes, making it a perfect zero‑stress protein boost for busy days.
Understanding Halloumi Cheese and Its Origins

Halloumi is a traditional cheese that traces its roots back to the Mediterranean island of Cyprus. In its original form, the cheese is crafted from a blend of sheep and goat milk, which gives it a firm yet elastic texture that can withstand high temperatures without melting into a mess. In recent years, many commercial producers have introduced cow’s milk into the mix to increase volume and reduce costs, while still preserving the cheese’s characteristic ability to hold shape when seared or grilled.
When you’re ready to grill, slice the halloumi into ½‑inch thick planks , a proven guideline from culinary research that ensures even cooking and easy flipping. A 1‑to‑2‑minute sear on each side on a hot grill or cast‑iron pan is sufficient for beautiful, caramelized grill marks, though the total time from prep to plate usually tops out around 11 minutes. The cheese’s mild, salty flavor is amplified by a subtle tang that comes from the brining process, creating a creamy mouthfeel that works well in salads, wraps, or as a protein‑rich side.
Because halloumi holds its shape so well, it’s a versatile canvas for pairing. Think bright citrus accents, fresh mint, or a drizzle of tahini for a Mediterranean twist. The cheese also pairs unexpectedly well with sweeter items like fresh pluots and a touch of honey, offering a sweet‑savory contrast that’s perfect for summer lunches.
In short, whether you’re a seasoned grill master or a beginner looking to add a protein punch to a plant‑based meal, understanding the origins and basic handling of halloumi will help you achieve a perfectly grilled result every time.
Slicing and Prep Work for the Best Texture
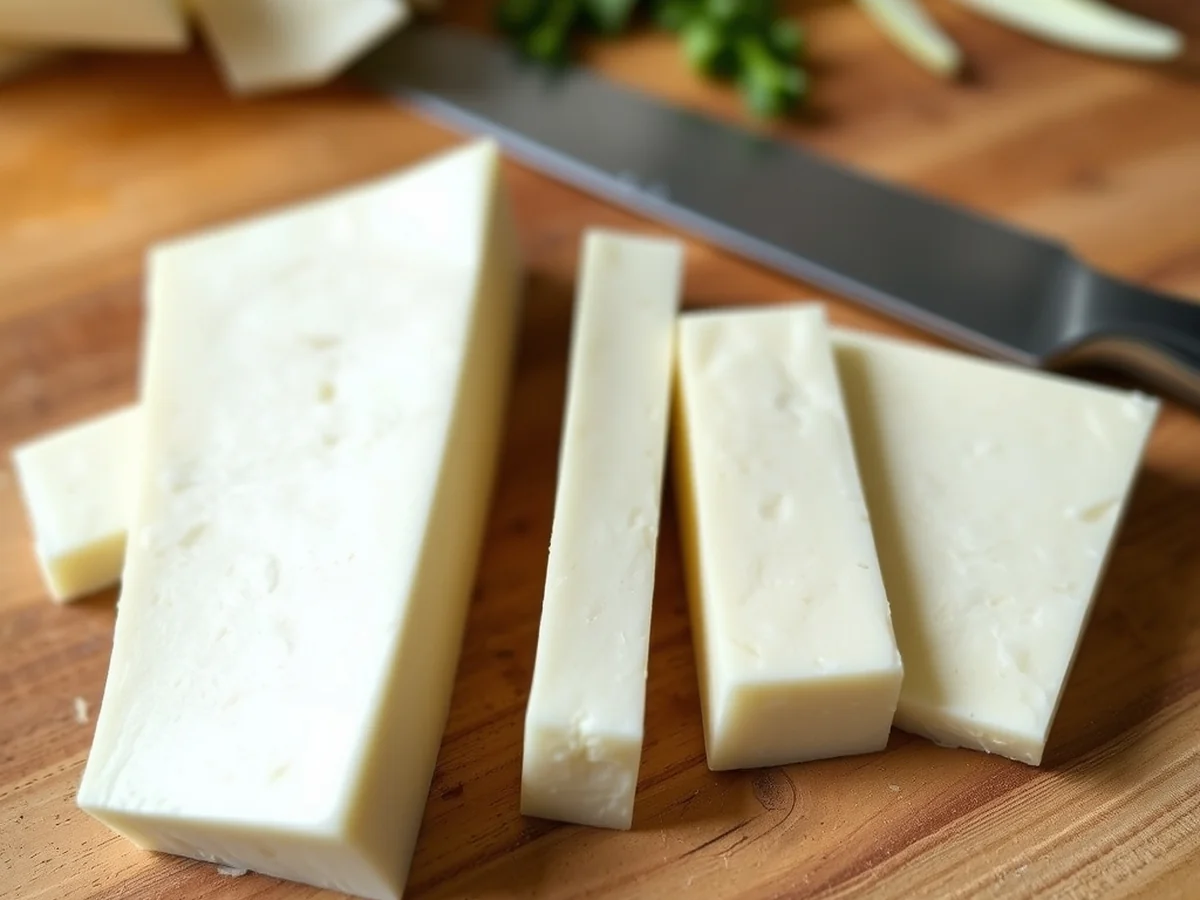
To achieve a crisp exterior with a tender center, slice halloumi into ½‑inch thick planks. This thickness is the standard recommended by food‑science studies, ensuring the cheese holds together while still melting slightly on the grill.
Proper sizing prevents the cheese from breaking apart, which can happen when slices are too thin. A ½‑inch cut gives a stable surface that develops clear grill marks without tearing.
Before cooking, lightly brush each side with olive oil. This creates a barrier that reduces sticking and enhances the golden crust that develops during grilling.
For a bright, zesty finish, squeeze fresh lemon juice over the planks after they have rested for a minute. The acidity brightens the cheese’s mild flavor and adds a subtle tang that pairs well with fresh greens.
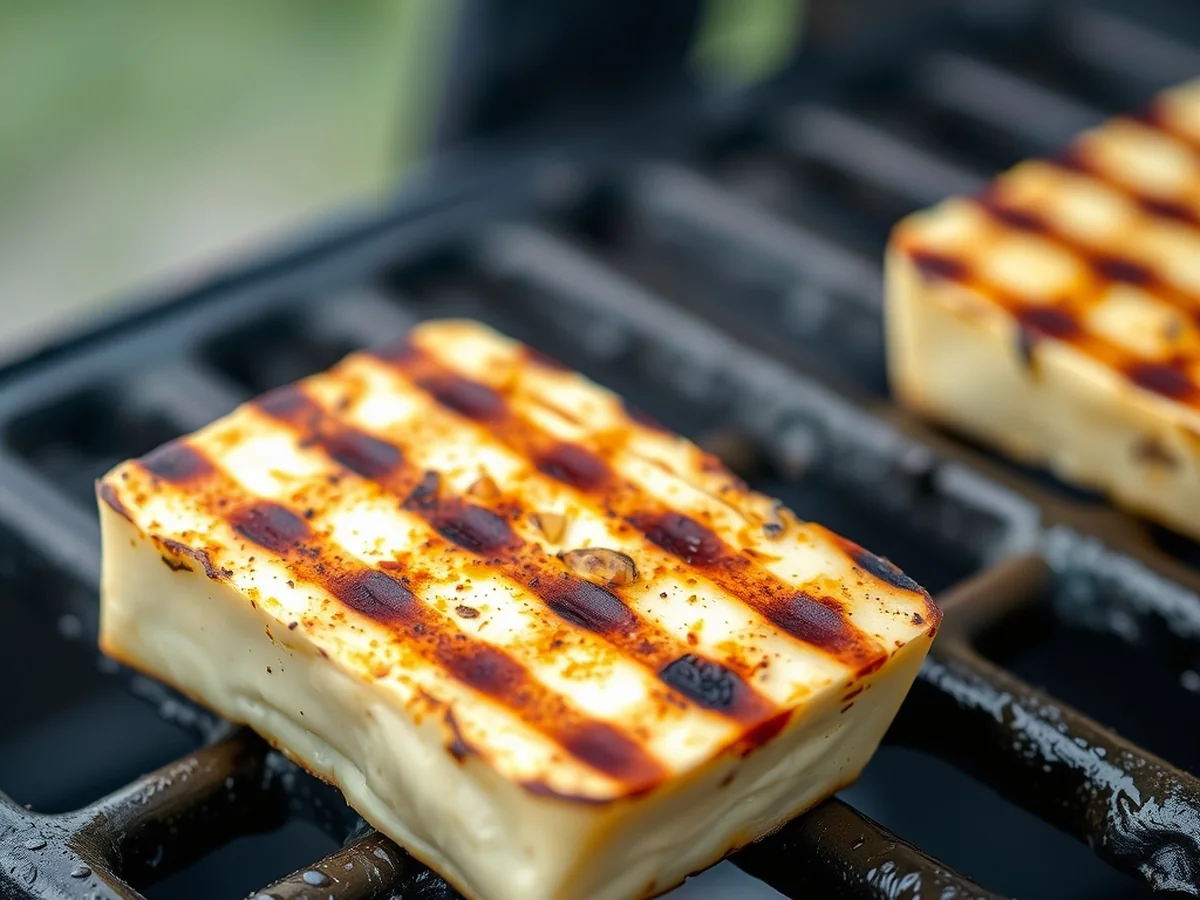
Once the cheese is ready, place the planks on a preheated grill or cast‑iron pan. Cook each side for 2 to 3 minutes, watching for the signature grill marks that indicate the cheese is ready.
After grilling, let the cheese rest briefly before serving. This pause allows the juices to redistribute, keeping the interior moist while the exterior stays crisp.
These simple steps, consistent thickness, oil brushing, and a squeeze of lemon, ensure every slice delivers a perfectly balanced texture and flavor profile.
- Slice to a ½‑inch thickness for optimal grill performance.
- Brush each side lightly with olive oil to prevent sticking.
- Squeeze fresh lemon juice after resting to brighten the taste.
- Grill 2, 3 minutes per side until clear marks appear.
- Rest briefly after cooking to maintain moisture.
Mastering Outdoor Gas Grills Versus Indoor Cast Iron Pans
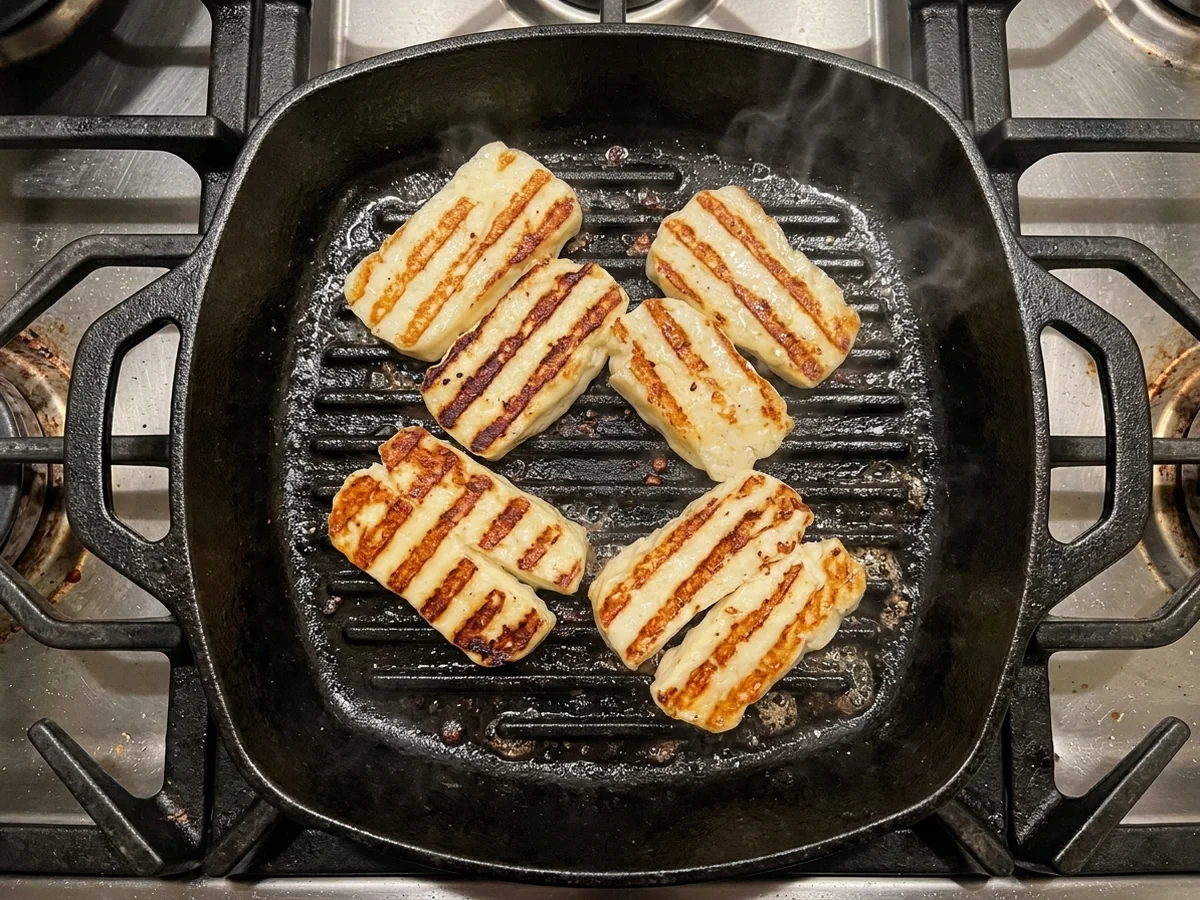
You can achieve perfect grilled halloumi cheese whether you are using an outdoor gas grill or an indoor stovetop. The key difference lies in heat management, as outdoor units provide high, direct heat, while indoor pans offer more controlled, consistent surface temperatures.
To cook on a gas grill, preheat the grates to a medium-high setting. Slice your halloumi into 1/2-inch thick planks, as documented by the Montana State University Food Product Development Lab. Brush the cheese lightly with oil and place it directly on the hot grates. Common practice suggests leaving the slices undisturbed for 2 to 3 minutes per side until distinct grill marks appear and the cheese softens.
Using a heavy cast iron grill pan indoors is an excellent alternative for those without outdoor space. Place the pan over a medium-high burner until it is thoroughly heated. Because cast iron retains heat exceptionally well, you should monitor the cheese closely to prevent charring. This method typically results in a uniform crust, making it a reliable way to get that signature texture without the need for an open flame.
When comparing these methods, remember that the total preparation and cooking time for the dish is approximately 11 minutes. Gas grills offer a smoky flavor profile that pairs well with the naturally salty character of this cheese, which is traditionally made from sheep and goat milk, though cow milk is also frequently used in modern commercial varieties. Regardless of the heat source, ensuring your pan or grates are well-oiled before adding the halloumi helps maintain the integrity of the slices during the cooking process.
Step by Step Grilling Times and Temperatures

Cooking this salty cheese requires keeping a close eye on the heat, since proper preparation and active cooking typically take about 11 minutes in total. You will not need to hover over the heat for long, making this a wonderfully fast addition to your meal prep routine or weekday lunch bowls. Understanding the timing and visual cues helps you achieve that ideal balance of a warm, softened interior and a deeply charred exterior.
To begin the process, preparation is key. Halloumi planks should be sliced to a 1/2-inch thickness for grilling. Slicing the cheese to this specific dimension ensures that the pieces stay structurally sound over the flames or inside a hot cast iron grill pan without melting away completely.
Common culinary guidance suggests that grilling the dairy planks usually takes about 2 to 3 minutes per side. You want to let the heat work its magic until distinct grill marks form across the surface. While traditional halloumi is often described as a sheep and goat milk cheese originating from Cyprus, commercial varieties found today are also commonly made using cow milk, which behaves similarly under direct heat.
Watch for visual cues to prevent overcooking or burning the surface of your food. As soon as those deep, golden lines appear and the edges soften slightly, flip the pieces carefully using a spatula. Paying attention to these subtle changes helps you avoid a charred exterior while keeping the inside warm and tender. Common mistakes include slicing the cheese too thin, which causes it to break apart, or leaving it unattended while the high heat creates an acrid burnt layer instead of clean grill marks.
Troubleshooting Sticking and Common Grilling Mishaps
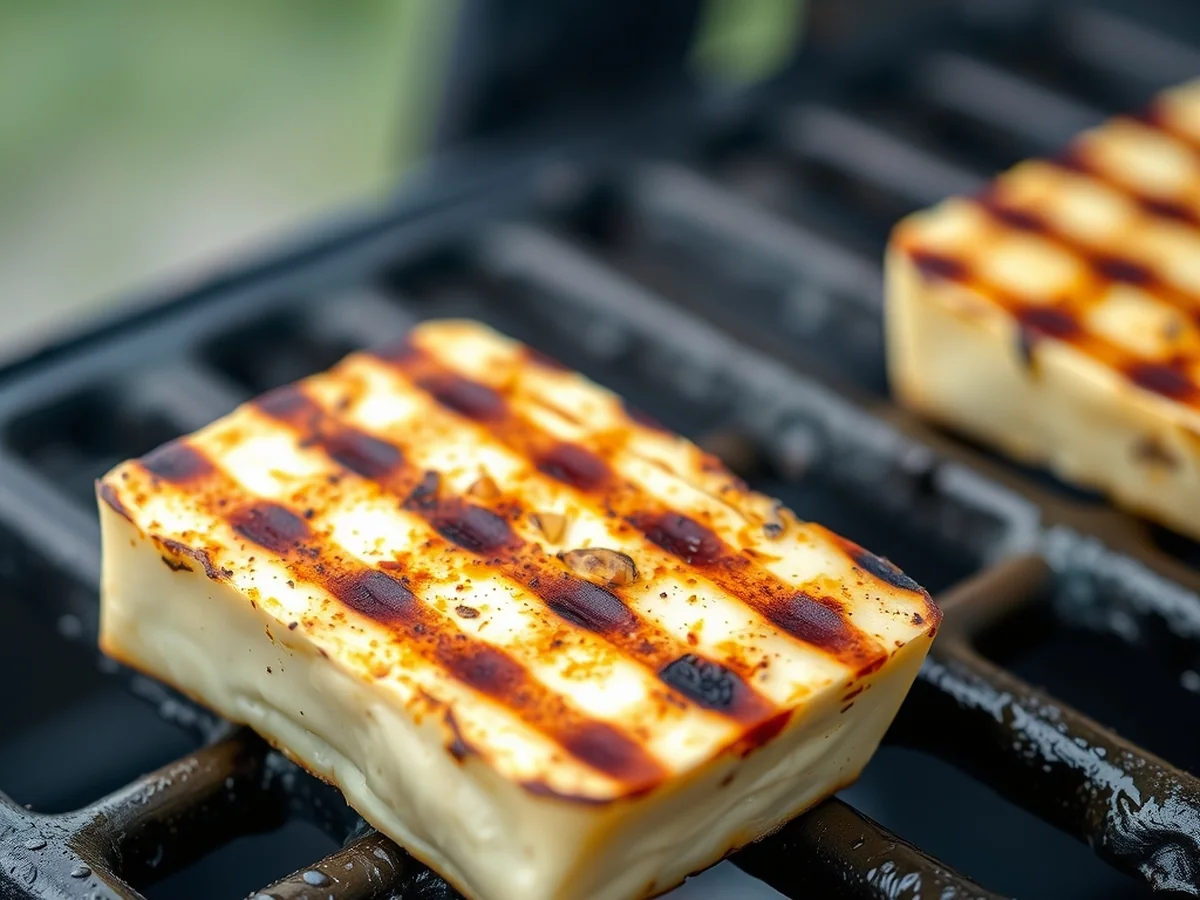
Grilled halloumi cheese can cling to your grill bars if you overlook a few simple steps. The main culprits are excess moisture, an unheated or dirty surface, and an incorrect slice thickness. When the cheese hits a wet or uneven grill, steam forms and the proteins bond to the metal, creating that frustrating “stick‑and‑sweep” moment.
Start by slicing the halloumi to a consistent 1/2‑inch thickness, as recommended by food‑science labs. A uniform cut ensures even cooking and reduces the chance of uneven moisture release. Pat the slices dry with paper towels; this removes surface water that would otherwise turn into steam. A light brush of olive oil on the cheese creates a protective barrier, helping the surface brown without sticking.
Preheat your grill or cast‑iron pan until it is very hot, ideally 400°F for a gas grill or a high heat setting on the stove. A hot surface sears the cheese almost instantly, forming a crust that naturally releases from the grill. If the heat is too low, the cheese softens and spreads, making it more likely to cling. Keep the grill bars clean by scrubbing with a brush before you start; any residue will grip the cheese fibers.
Once the cheese is on the grill, let it cook for 2 to 3 minutes per side. This window allows the halloumi to develop golden grill marks while retaining a firm texture. Turning too early or too late can cause uneven sticking. Watch for the moment the cheese releases easily; if it still resists, give it a minute longer before flipping.
Common mistakes include slicing too thick, which traps moisture inside, or neglecting to oil the surface, both of which increase sticking. By following these simple steps, drying, oiling, heating, and timing, you’ll enjoy a clean, flavorful slab of grilled halloumi that slides off the grill with ease.
Creative Flavor Pairings and Summer Vegetables

Grilled halloumi cheese is a versatile star for quick, satisfying meals. Slice the cheese to a ½‑inch thickness , a proven guideline for even grilling , and set it aside while you prepare the rest of the plate. The classic combination of grilled halloumi with a medley of summer vegetables, a drizzle of nutty tahini dressing, and a sprinkle of fresh mint creates a balanced bite that showcases the cheese’s natural saltiness.
Start by tossing sliced zucchini, bell pepper, and cherry tomatoes with a touch of olive oil, lemon juice, and salt. Grill the vegetables for 3, 4 minutes per side until they develop soft char marks, mirroring the 2, 3 minute per side rule for the cheese. While the veggies finish, pan‑heat a cast‑iron grill pan over medium heat, add a light coating of olive oil, and lay the halloumi slices on the hot surface. After 2, 3 minutes, flip each side until golden brown and grill‑marked.
To lift the richness of the cheese, finish the plate with a handful of chopped mint and a squeeze of fresh lemon. The bright herb cuts through the salty, creamy texture and adds a pop of color. For a playful sweet‑salty twist, scatter thinly sliced fresh pluots and drizzle honey over the warm halloumi before serving. The natural tartness of the fruit pairs delightfully with the cheese’s firm bite.
Common mistakes to avoid: cutting the cheese too thick can result in uneven cooking; overlooking the ½‑inch guideline; letting the pan become too hot, which causes sticking; and forgetting to oil the grill grates or pan. By following these simple steps and paying attention to the cheese’s thickness, you’ll consistently achieve a perfectly grilled halloumi that complements any summer vegetable spread.
Pairing Grilled Halloumi in Salads
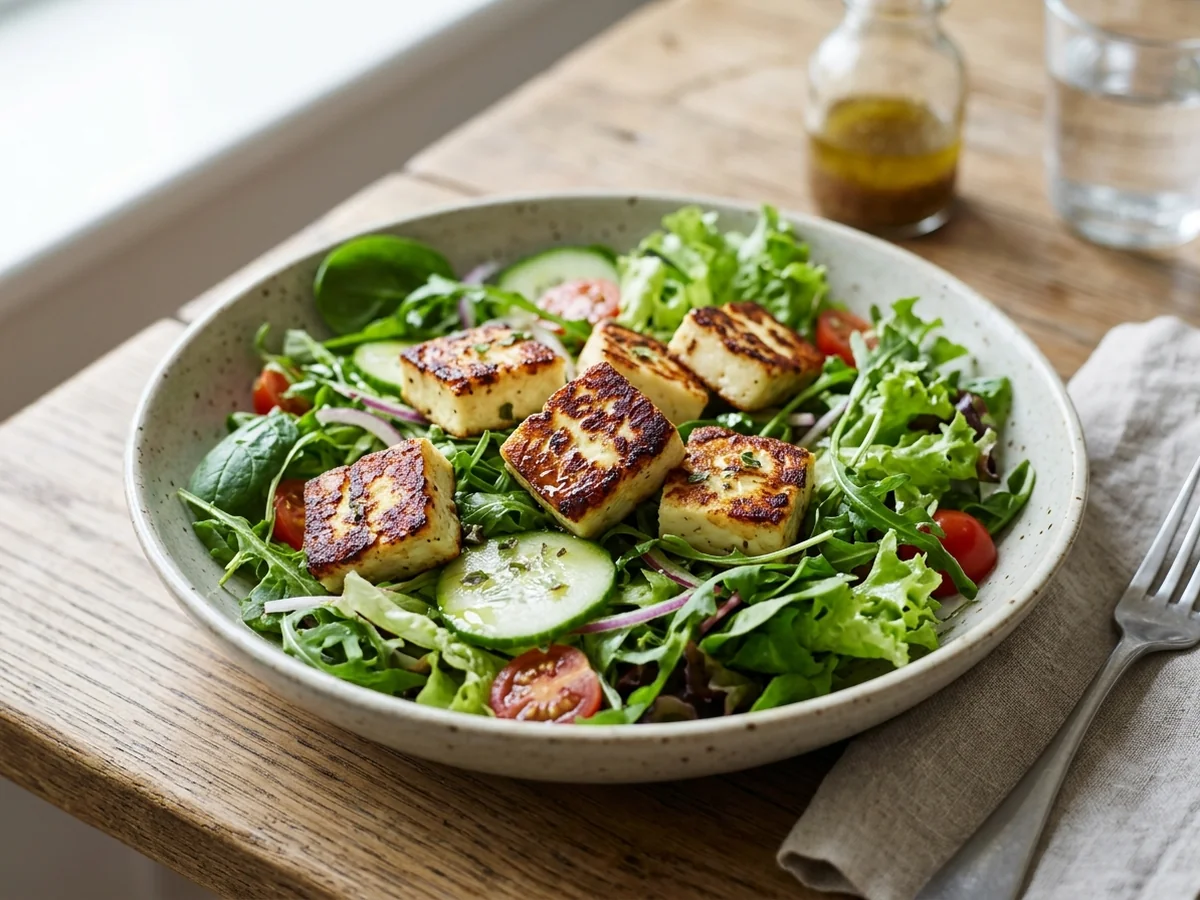
Start with a crisp bed of mixed greens, then add ½‑inch slices of halloumi that have been brushed with olive oil and grilled for 2‑3 minutes per side. The cheese’s firm texture holds up to the heat, creating a savory, slightly salty core that balances the freshness of the greens.
Introduce seasonal vegetables such as cherry tomatoes, cucumber ribbons, and roasted bell pepper strips. Their bright colors and natural sweetness complement the cheese’s mild flavor, while the slight char from the grill adds a smoky note that enhances the overall profile of the dish.
Finish the salad with a drizzle of lemon‑mint vinaigrette, made by whisking lemon juice, chopped mint, and a touch of honey. The acidity cuts through the cheese’s richness, and the mint adds a refreshing lift that makes each bite feel light yet satisfying.
For a protein‑packed meal prep bowl, portion the grilled halloumi into individual containers and add quinoa or couscous, steamed broccoli, and a dollop of tahini sauce. This assembly keeps the cheese firm and the vegetables crisp, ensuring the bowl remains enjoyable even after refrigeration.
When packing for a cold grab‑and‑go lunch, allow the cheese to cool completely before sealing it in a zip‑lock bag. Store the salad components separately in airtight containers, and combine just before eating to preserve the cheese’s texture and the vegetables’ crunch.
Storage, Freezing, and Leftover Guidance
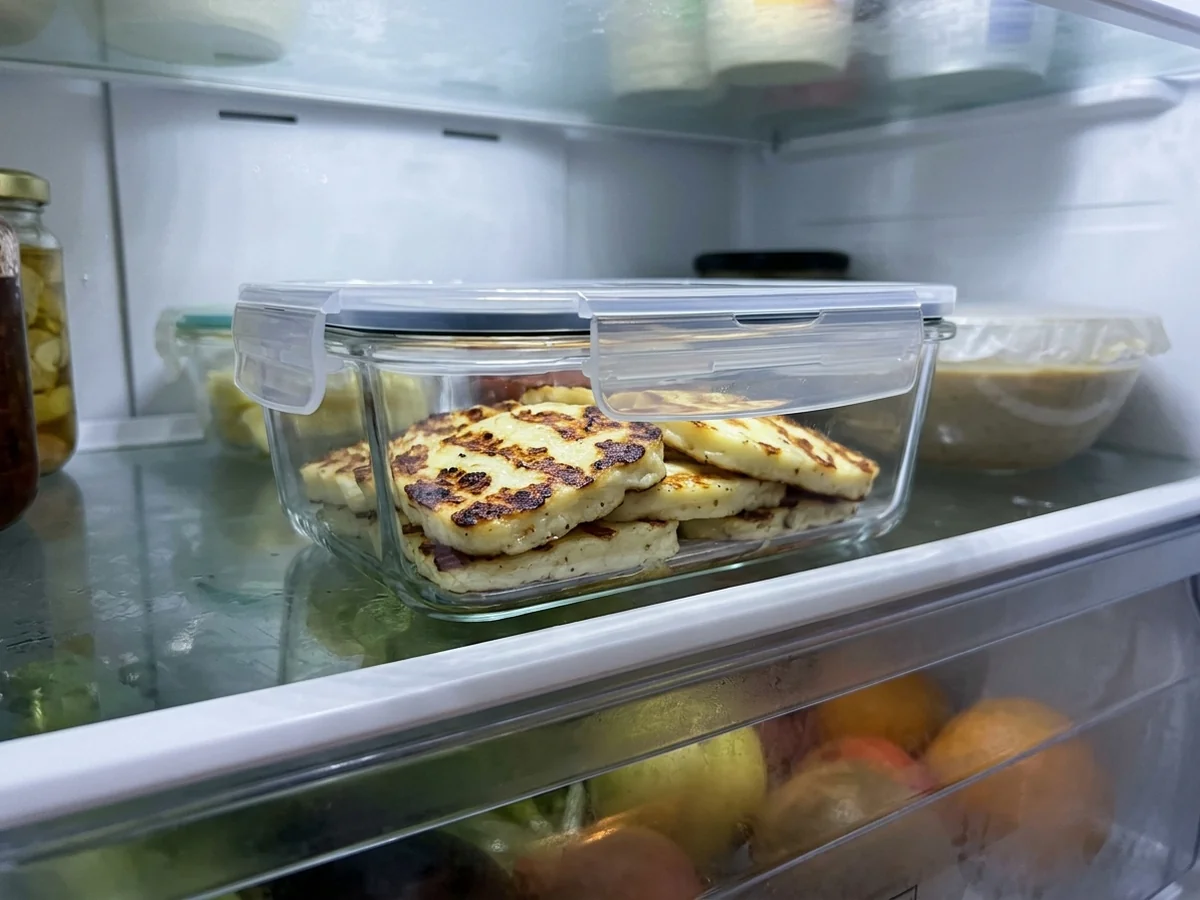
Store leftover halloumi in an airtight container in the refrigerator for up to three days. If you have uncooked cheese, keep it in its original packaging or submerge it in brine to maintain its moisture and flavor profile. Freezing is also an option for both raw and cooked portions, provided you wrap them tightly in plastic or foil to prevent freezer burn.
When you are ready to use frozen cheese, allow it to thaw slowly in the refrigerator overnight. Avoid using a microwave for thawing, as this process can alter the texture before you even begin cooking. Keeping the temperature transition gradual helps preserve the structural integrity of the cheese.
Reheating cooked portions requires a gentle touch to avoid a rubbery or tough consistency. The best approach is to warm the slices in a non-stick pan over medium-low heat with a tiny splash of olive oil. Using high heat often causes the proteins to tighten quickly, resulting in a squeaky or chewy texture that loses the pleasant bite of freshly prepared pieces. Alternatively, a few minutes in a low-temperature oven can warm the slices through without drying them out.
- Pat the surface dry with a paper towel before reheating to ensure even browning.
- Add a squeeze of fresh lemon juice just before serving to brighten the flavor.
- Avoid reheating more than once, as the quality significantly declines with repeated temperature changes.
What is grilled halloumi cheese?
Grilled halloumi cheese is a semi-hard, unripened cheese that maintains its shape when exposed to high heat. It is a staple originating from Cyprus, where it is traditionally made from a blend of sheep and goat milk. While these remain the traditional ingredients, common practice today includes commercial versions made from cow milk as well.
Is grilled halloumi healthy?
Halloumi provides a good source of protein and calcium, making it a satisfying addition to many meals. Because it has a high fat and sodium content, it is best enjoyed as part of a balanced diet rather than a primary protein source. When paired with fresh produce in a grilled halloumi salad, you can easily create a nourishing and well-rounded lunch.
What is the best way to grill halloumi?
The secret to perfect results is consistency in preparation and patience during the cooking process. You should slice your halloumi planks to a 1/2-inch thickness to ensure they hold up well on the heat. Once sliced, place the pieces on a preheated surface, such as a cast iron grill pan or outdoor grate, and cook for 2 to 3 minutes per side until distinct grill marks form. The total preparation and cooking time for this process is approximately 11 minutes.
What does halloumi cheese taste like?
Halloumi has a distinct, salty flavor profile with a firm and slightly squeaky texture when bitten into. The grilling process softens the interior while creating a crispy, browned crust that enhances its savory character. Many cooks find that a squeeze of fresh lemon or a drizzle of honey balances its natural saltiness perfectly.
Frequently Asked Questions About Halloumi
Can you reheat grilled halloumi?
Halloumi is best enjoyed immediately after cooking while the texture is still warm and soft. If you have leftovers, you can briefly warm them in a pan, but the texture may become firmer or more rubbery than it was when freshly grilled.
Do you need oil when grilling halloumi?
While the cheese does not require much oil to cook, a very light brush of olive oil on the planks can prevent sticking and help achieve a beautiful golden sear. If you are using a well-seasoned cast iron pan, you may find that you need very little oil at all.
How do you stop halloumi from sticking?
Ensure your grill or pan is thoroughly preheated before adding the cheese to create an immediate sear. A clean, hot, and lightly oiled surface is the most effective way to keep the planks from adhering to the metal.
What can you serve with grilled halloumi?
It pairs beautifully with fresh summer vegetables, such as zucchini, bell peppers, and eggplant, for a complete meal. You might also consider serving it alongside fresh fruit like pluots or a drizzle of tahini dressing to complement the saltiness of the cheese.
Perfecting Your Halloumi
Achieving the best results when making grilled halloumi cheese relies on consistent slice thickness and controlled heat. Slicing your cheese into 1/2-inch planks ensures it holds its shape while developing those sought-after char marks without melting away. Since it is common practice for halloumi to be made from sheep, goat, or cow milk, the texture can vary slightly, but the preparation method remains reliable. You will typically find that the entire process takes about 11 minutes from start to finish, with 2 to 3 minutes of cooking per side being the sweet spot for a golden, chewy exterior.
Conclusion
Once you master the basic technique, feel free to experiment with seasonal produce, fresh herbs, and citrus drizzles to elevate your dish. Preparing grilled halloumi cheese is a simple yet rewarding way to bring Mediterranean inspiration to your next meal.
Sources: montana.edu
You might also like: How to Use Salt Like a Pro: Essential Cooking Guide