How to Make Homemade Vanilla Extract with Labels
Introduction to Crafting Your Own Vanilla Extract
Making homemade vanilla extract is a satisfying culinary project that transforms just a couple of simple ingredients into a pantry staple. Crafting an easy homemade vanilla extract requires nothing more than quality beans and a neutral spirit, letting time do the heavy lifting while the flavors deepen.
This guide covers everything needed to produce a batch worthy of your own kitchen or a thoughtful zero stress kitchen gift for friends and family. You will learn the ideal bean to alcohol proportions, discover which spirits work best, and find out how to design custom labels to finish your bottles with style.
Selecting the Best Vanilla Bean Varieties
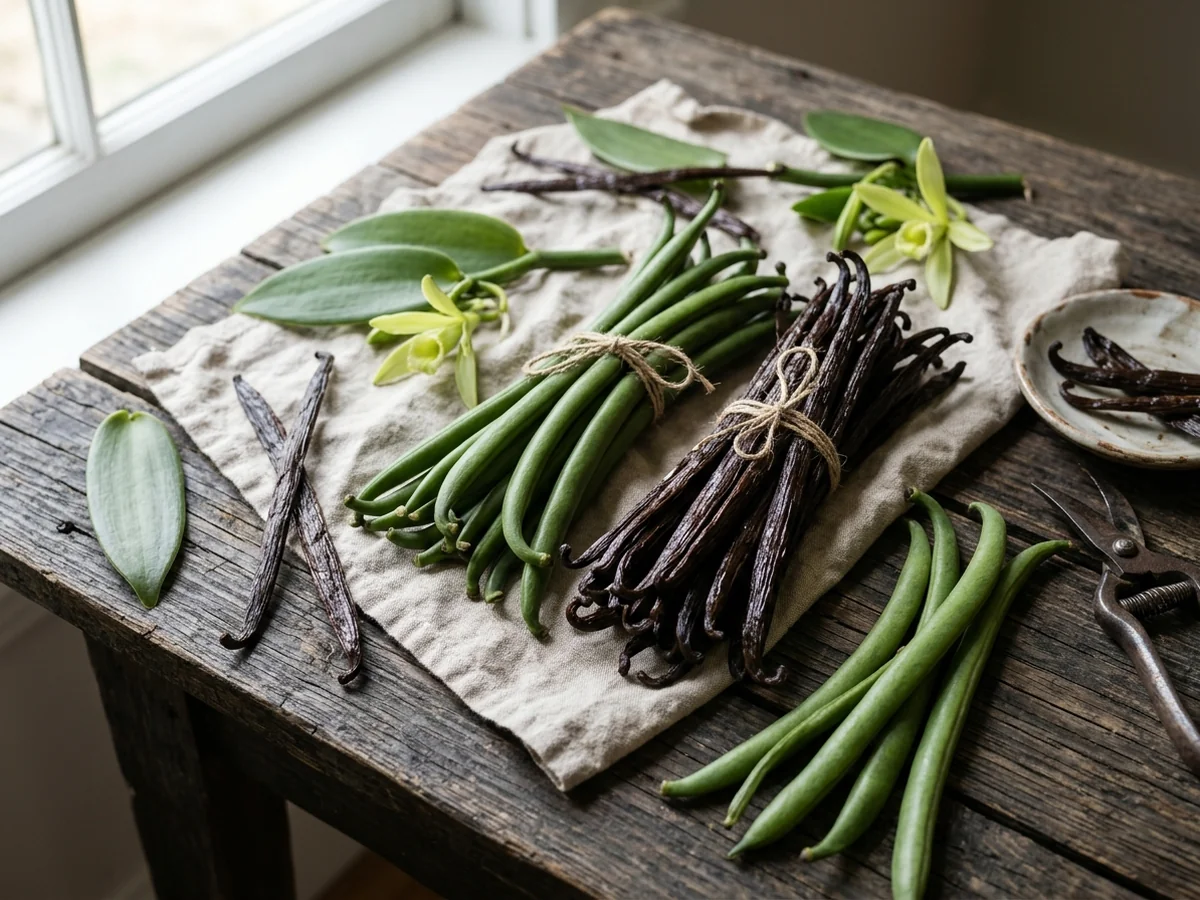
Choosing the right type of bean determines the final taste and aroma of your homemade vanilla extract, since each agricultural origin brings a completely distinct flavor profile to your glass bottles. Vanilla beans start their life as green pods on the vanilla orchid before they undergo a careful curing process that develops their rich aromatic compounds.
Different regions produce pods with unique chemical and sensory characteristics that influence baked goods in specific ways. Understanding these differences helps home bakers tailor their extractions to suit specific recipes, whether you are planning a cozy weekday lunch treat or a high-protein prep bowl dessert.
Comparing Regional Pod Characteristics
When preparing your infusion, selecting the right origin dictates how the flavor translates into your culinary creations. Madagascar vanilla beans offer a rich, creamy, and traditional flavor profile that works wonderfully in classic cookies and cakes. If you prefer floral, cherry-like, and sweet aromatic notes that shine brightly in uncooked frostings and delicate desserts, Tahitian vanilla beans are a strong choice. Alternatively, Mexican pods provide a deep, spicy, and smoky character that complements rich chocolate treats and heavy custards.
Understanding Moisture Grades for Infusion
When shopping for your pods, you will also need to decide between moisture grades. Grade A beans contain higher moisture content and work well for quick culinary uses or garnishes, while drier Grade B pods are typically preferred for long infusions because they pack a higher concentration of extractable compounds and pose fewer moisture risks during the steeping phase.
Common Mistakes to Avoid When Selecting Beans
A frequent error among DIY enthusiasts is purchasing brittle or completely dried-out pods that lack essential oils. High-quality extraction pods should feel pliable, plump, and slightly oily to the touch. Selecting damaged packaging or overly brittle pods can result in a weak infusion that fails to meet standard flavor expectations.
Choosing the Right Alcohol and Extraction Mediums
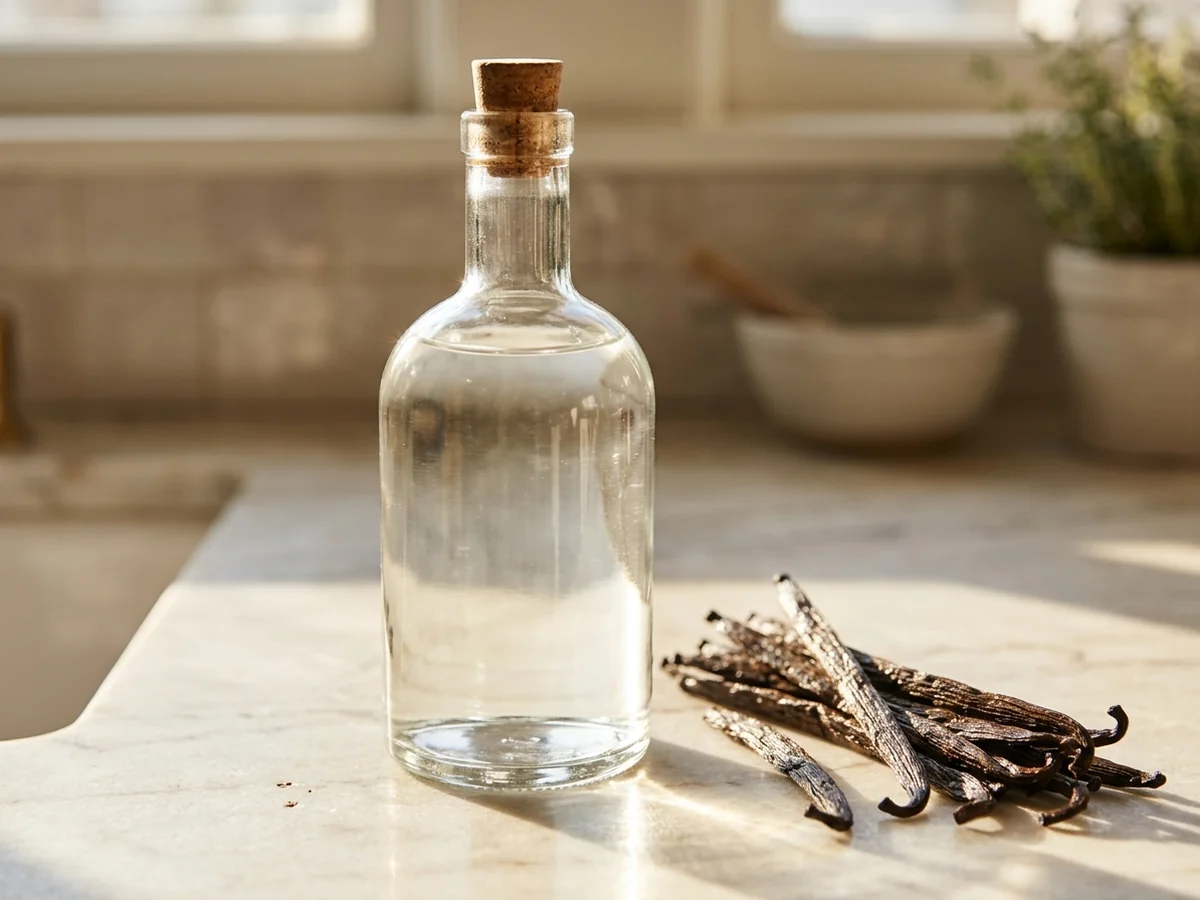
Selecting the proper spirit forms the foundation of any successful batch when you are preparing vanilla flavoring at home. Because alcohol acts as the primary solvent that draws out flavor compounds from the bean, your choice directly impacts the aroma and taste of your final creation. Home bakers and gift makers often look for the optimal spirit to create pure flavor, allowing the delicate bean characteristics to shine without competing notes.
Vodka as the Traditional Solvent
Common guidance suggests that middle of the road 80 proof vodka, such as Smirnoff triple distilled, works very well for this recipe. Neutral spirits let the true bean character take center stage without adding extra flavors to your culinary projects. When evaluating the standard recipe proportions, typical practice relies on 4 whole vanilla beans per 1 cup of vodka. This standard proportion gives the solvent an ideal balance of plant material to liquid for a robust, aromatic result.
Exploring Alternative Spirits
Bourbon serves as a popular alternative spirit for bakers wanting a deeper, sweeter profile with rich oak undertones. Selecting this option adds warmth and complexity that pairs wonderfully with rich baked goods, frostings, and weekday lunch treats. The woody notes complement the natural compounds found inside the pods, giving your kitchen projects a distinct and comforting twist. Deciding on the most suitable spirit ultimately depends on the specific flavor profile you want to achieve.
Botanical Origins and Bean Varieties
Before these flavor compounds end up in a glass bottle, the beans themselves have a fascinating origin story. According to insights shared by the University of Florida, vanilla beans start their life as green pods growing on the vanilla orchid. Growers must patiently harvest and cure these green pods before they develop that characteristic dark color and rich aroma. Selecting distinct varieties like Madagascar Bourbon or Tahitian beans further refines the final taste, giving you complete control over your DIY baking supplies.
Avoiding Common Pitfalls
Understanding how different spirits interact with your ingredients helps you avoid common mistakes during the preparation process. A frequent pitfall is choosing flavored or low proof alcohols that interfere with the extraction or fail to preserve the liquid properly over time. Sticking to standard 80 proof options ensures the liquid has the right concentration to break down the cellular structure of the bean effectively. As you gather your supplies, remember that homemade vanilla extract needs to brew for approximately 2 months while shaking occasionally, and keeping your bottles away from heat and light prevents the liquid from turning cloudy.
Understanding Proportions and Batch Ratios
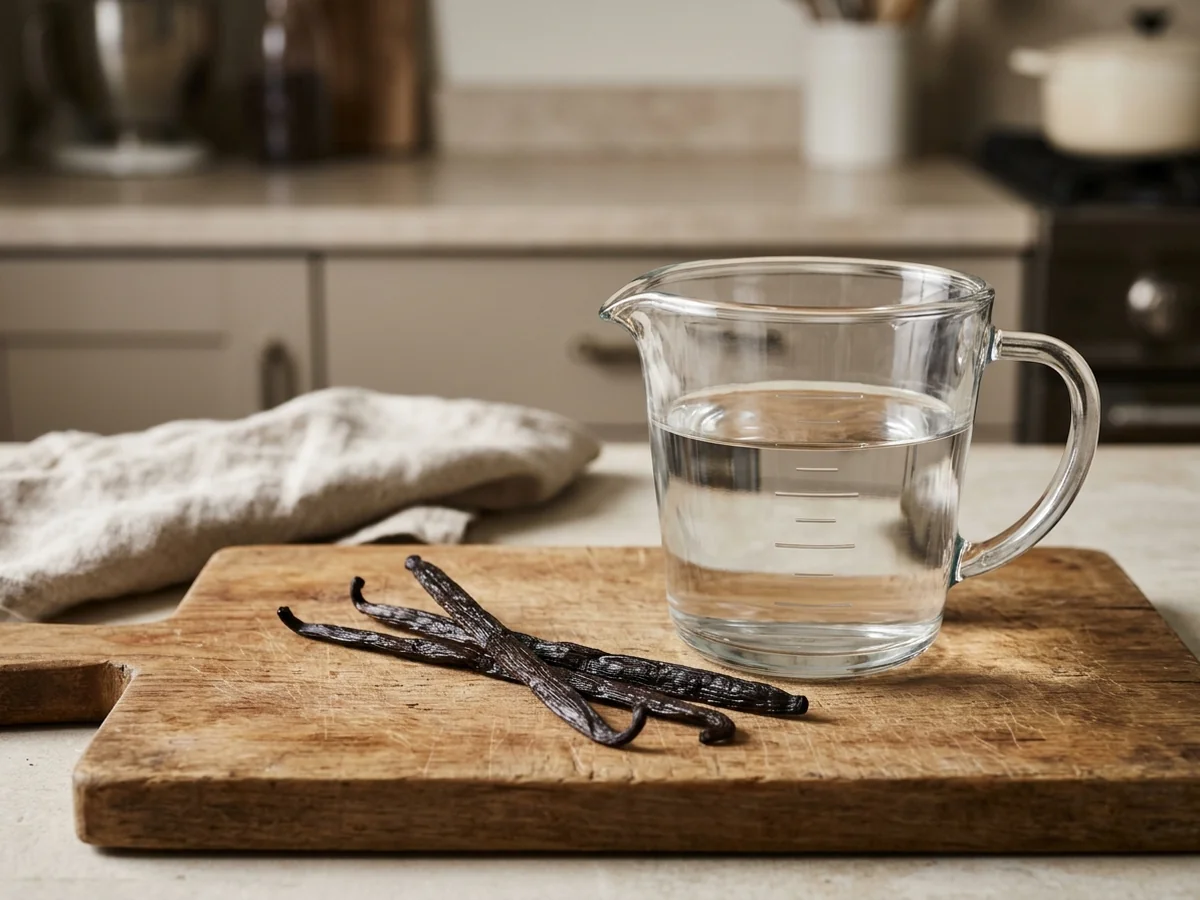
Getting the right balance of ingredients is essential when crafting an easy vanilla infusion for your weekday baking projects or special gift jars. Common guidance suggests that the standard recipe proportion involves four whole vanilla beans per one cup of vodka. This established extraction balance ensures your finished batch develops a rich flavor profile without tasting overly diluted by the alcohol.
Vanilla beans start their life as green pods on the vanilla orchid, and capturing their natural aromatic complexity relies entirely on maintaining the correct botanical-to-liquid weight. Whether you choose Madagascar Bourbon varieties or Mexican pods, keeping the proportions stable prevents flavor imbalances.
Scaling Your Batch for Glass Bottles
Scaling these measurements for home baking needs requires simple multiplication depending on your glassware capacity and upcoming baking plans. You can easily adjust the yield upward for holiday gifting or large kitchen supplies by keeping the bean-to-liquid ratio constant. Maintaining this mathematical balance guarantees your final bottled creation achieves the strength needed for cookies, cakes, and custards.
When filling custom containers, always check that your chosen glassware seals securely. If you are preparing gifts for friends or stocking your pantry, consistent measurements ensure every bottle delivers identical aromatic quality.
Selecting the Right Extraction Spirit
Common guidance indicates that middle of the road 80 proof spirits, such as Smirnoff triple distilled, work well for the recipe. Choosing a standard neutral spirit lets the complex notes of the pods take center stage during the steeping process without competing with harsh flavors. While some enthusiasts experiment with rum or bourbon, standard neutral vodka remains the most reliable baseline for pure extraction.
Here are several practical guidelines for measuring and scaling your ingredients properly:
- Follow the standard recipe proportion of four whole vanilla beans per one cup of vodka as your baseline measurement for any typical glass container.
- Split each pod down the center with a sharp knife before submerging it so the tiny seeds disperse easily throughout the liquid.
- Ensure the botanical pods remain completely submerged beneath the liquid line at all times to prevent spoilage during the steeping phase.
- Multiply both the bean count and the fluid volume evenly if you decide to prepare a double or triple batch for pantry storage.
- Keep your ingredient proportions consistent even when shifting to larger jars to maintain optimal flavor strength.
Keep in mind that homemade vanilla extract needs to brew for approximately two months while shaking occasionally to encourage full flavor dispersion. Store your glass jars away from direct heat and sunlight, because heat and light can cause homemade vanilla extract to turn cloudy and degrade the delicate aromatic compounds.
Step by Step Preparation Instructions
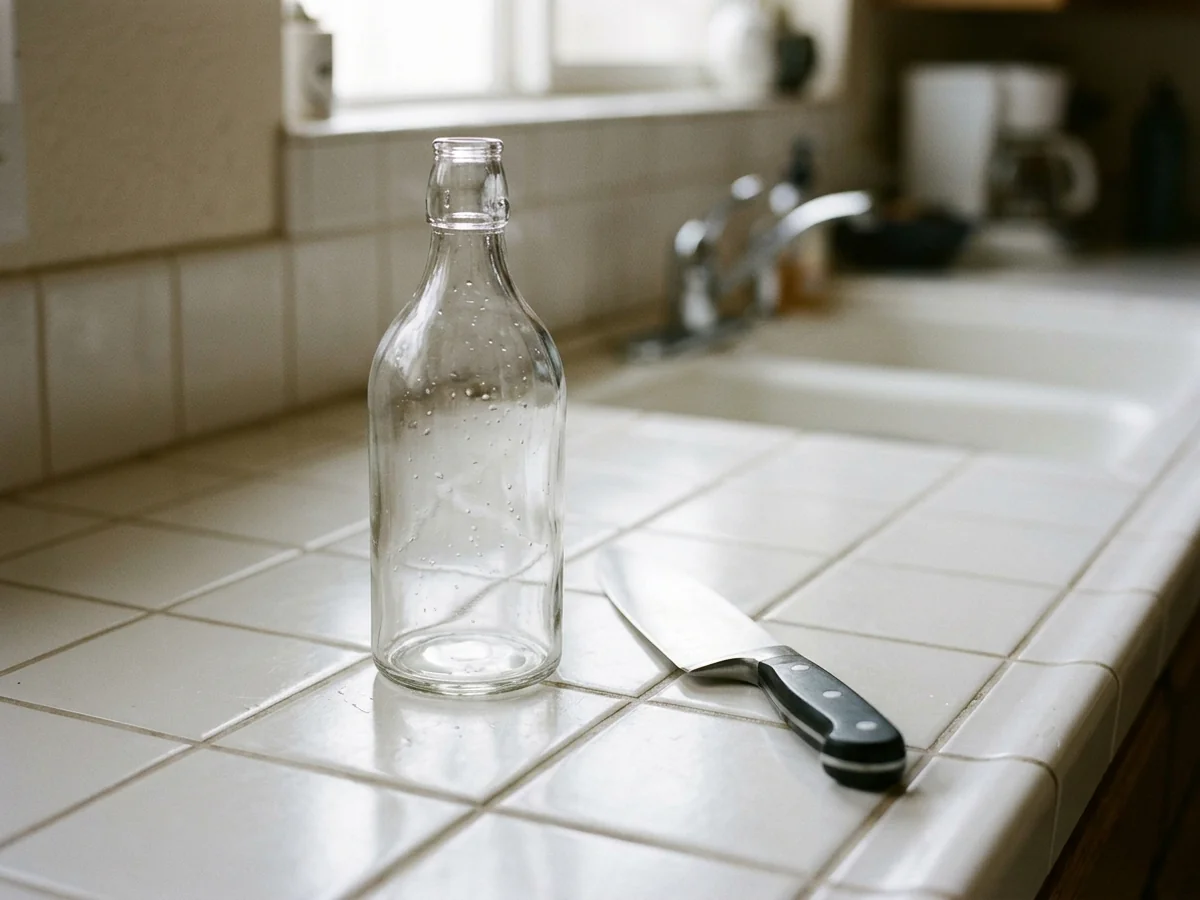
Preparing pure vanilla flavoring requires careful attention to cleanliness and proper handling of all equipment to ensure a safe and successful batch. Maintaining a sanitized workspace prevents unwanted bacteria from entering your glass bottles during the long steeping process. Following a reliable method helps home bakers and DIY enthusiasts create fragrant extracts that rival store-bought alternatives for weekday lunches and gourmet baking projects alike.
To assemble your ingredients and craft your batch successfully, follow this detailed procedure:
- Wash and completely dry your glass containers and utensils before starting to prevent any moisture contamination.
- Slice each vanilla bean lengthwise down the center using a sharp paring knife to expose the tiny seeds inside and maximize flavor release.
- Place the sliced pods directly into your prepared glass vessel, ensuring they fit comfortably without being overly cramped. Common guidance suggests using a proportion of 4 whole vanilla beans per 1 cup of vodka.
- Pour the chosen alcohol over the pods, making sure the liquid completely submerges every bean. Middle of the road 80 proof spirits like Smirnoff triple distilled vodka often work well for the recipe because they provide a neutral background that lets the bean character shine.
- Seal the vessel tightly with a clean lid and store it in a cool, dark location away from direct sunlight.
Understanding the reasoning behind each action helps avoid common pitfalls. For instance, leaving pods whole instead of splitting them drastically slows down the flavor extraction because the alcohol cannot easily reach the interior seeds. Another frequent misstep is exposing the brewing vessel to direct sunlight or warm environments, which typical guidance notes can cause the liquid to turn cloudy and degrade the delicate flavor compounds. Keep your jars tucked away in a pantry cupboard, and remember that DIY vanilla flavoring typically needs to brew for approximately 2 months while shaking occasionally to encourage full saturation.
Selecting and Preparing Glass Bottles
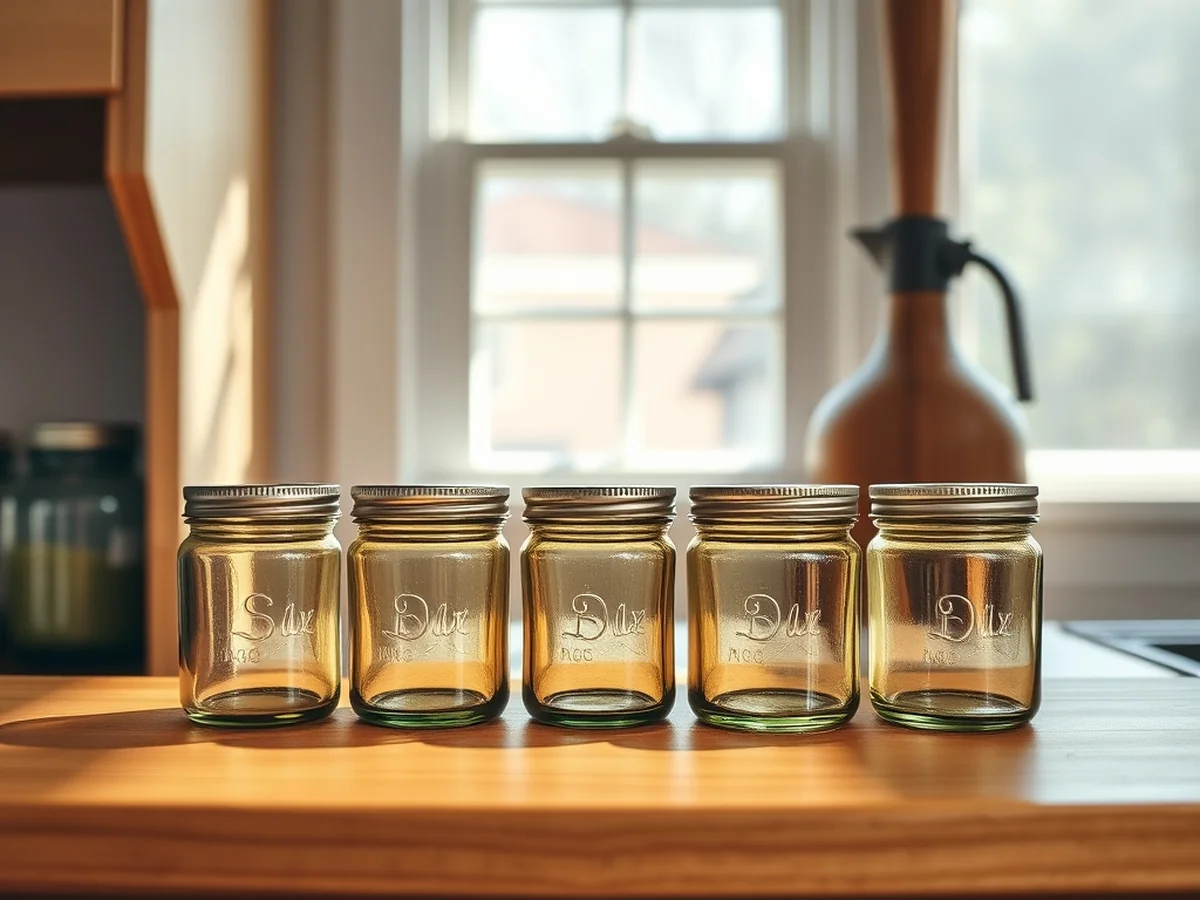
Proper vessel selection safeguards your culinary projects while flavor develops over the months. When planning out your vanilla bottling containers, match container capacity to your intended kitchen use or gifting schedule. Compact four ounce or eight ounce jars fit neatly on pantry shelves and suit holiday present packages, while larger swing top glass bottles accommodate bulk batches meant for frequent baking projects.
Choosing the Right Glassware
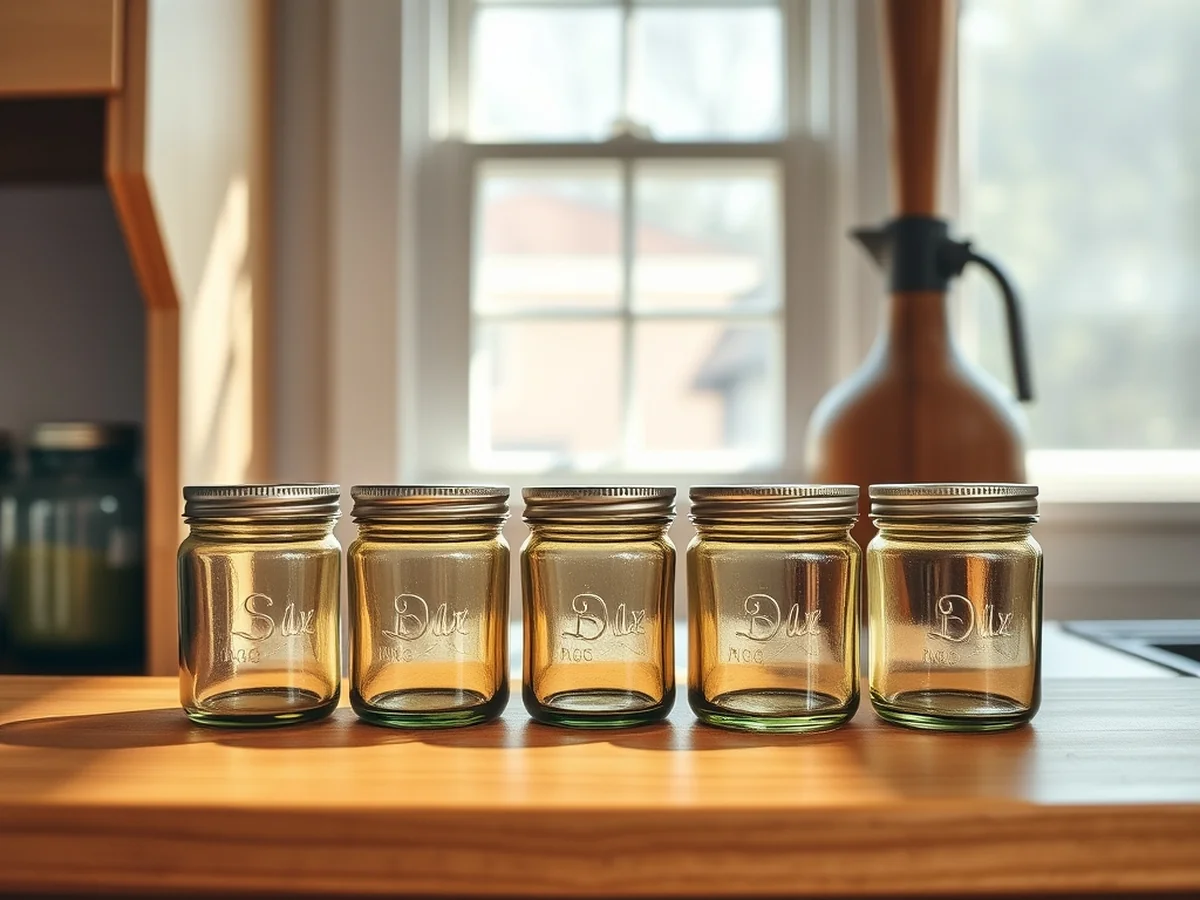
Glass is completely non reactive, which keeps the alcohol and bean pods pure without altering taste over time. Selecting clean vessels with secure seals prevents the gradual liquid loss that can occur during long steeping periods. Airtight rubber gaskets or tightly fitted screw caps keep contents fresh and potent. Common mistakes to avoid include using containers with compromised seals or choosing lids that fail to close tightly, which leads to unwanted evaporation.
Sanitizing and Drying Containers
Thorough preparation before filling ensures a pristine final product for home bakers and DIY enthusiasts. Wash every container thoroughly in hot, soapy water, rinse completely, and allow the glass to dry entirely before adding any ingredients. Any leftover residue or trapped moisture can negatively alter the flavor of the liquid. Taking time to inspect and sanitize your glassware guarantees that your creation remains pure and flavorful throughout the brewing cycle.
Managing Storage Conditions
Once filled with the typical practice proportion of four whole beans per cup of vodka, containers require a stable environment to mature properly. Vanilla extract crafted at home commonly needs to brew for approximately two months while shaking occasionally to distribute the aromatic compounds. Because heat and light can cause DIY vanilla creations to turn cloudy or degrade, store your glass bottles in a cool, dark cupboard away from direct sunlight.
Brewing Timeframes and Storage Guidelines
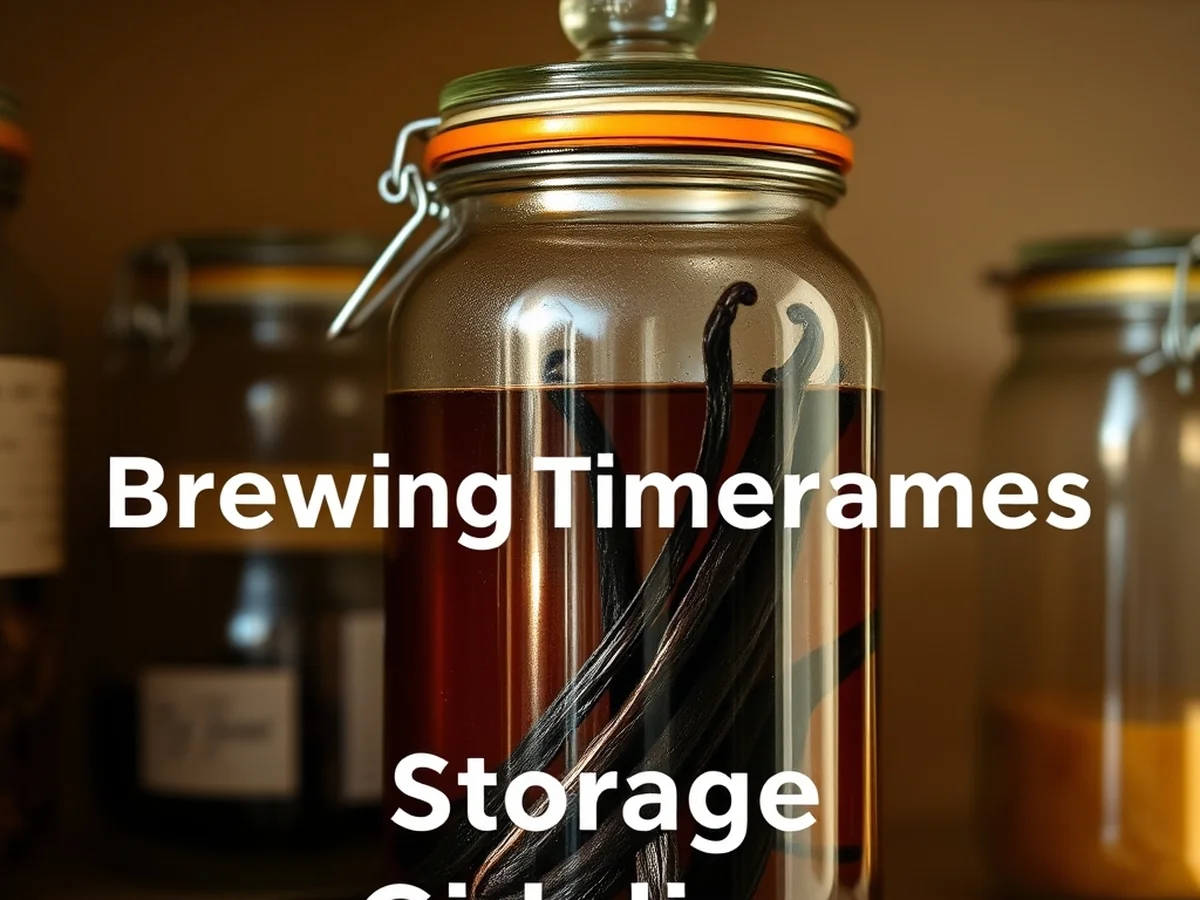
Proper brewing for a simple batch of DIY vanilla extract requires patience and attention to detail. Common guidance notes that a batch typically needs to steep for approximately two months before it develops peak flavor. During this resting period, vanilla beans start their life as green pods on the vanilla orchid before transforming into the aromatic dried pods used in kitchens. As the infusion matures, the alcohol slowly draws out the complex compounds locked inside the bean pods, turning clear liquid into a rich brown extract suitable for weekly baking projects and weekday meal prep.
The Extraction Timeline and Shaking Routine
Giving your storage containers an occasional gentle shake during the two-month steeping window helps the bean compounds infuse smoothly into the liquid. While it is tempting to check on the progress frequently, keeping the bottle tightly sealed prevents unnecessary air exposure. Common guidance suggests relying on a middle of the road 80 proof vodka like Smirnoff triple distilled for the recipe, paired with a standard proportion of about 4 whole vanilla beans per 1 cup of vodka. Letting the mixture sit undisturbed in a dark cupboard for the full duration guarantees a robust flavor profile.
Protecting Your Batch from Environmental Factors
Storage conditions play a major role in maintaining clarity and flavor over time. Common guidance indicates that exposure to heat and light can cause DIY vanilla extract to turn cloudy or degrade while sitting on a pantry shelf. Keeping your containers in a dark, cool cupboard prevents this reaction and protects the overall integrity of the liquid. A steady temperature away from direct sunlight ensures the infusion matures without unwanted changes in appearance or aroma.
To ensure your batch turns out successfully, keep a few practical steps and common mistakes in mind during the steeping process:
- Use clean, tightly sealed glass bottles to prevent unwanted evaporation or contamination during the long resting period.
- Avoid placing your storage containers near windows, stoves, or appliances where fluctuating heat can disrupt the extraction process.
- Commit to the full two-month waiting window rather than using the liquid too early, as a shorter steep results in a weak flavor.
- Skip the temptation to constantly open the bottle for testing, because introducing air repeatedly can interfere with proper compound infusion.
Designing and Applying Custom Extract Labels
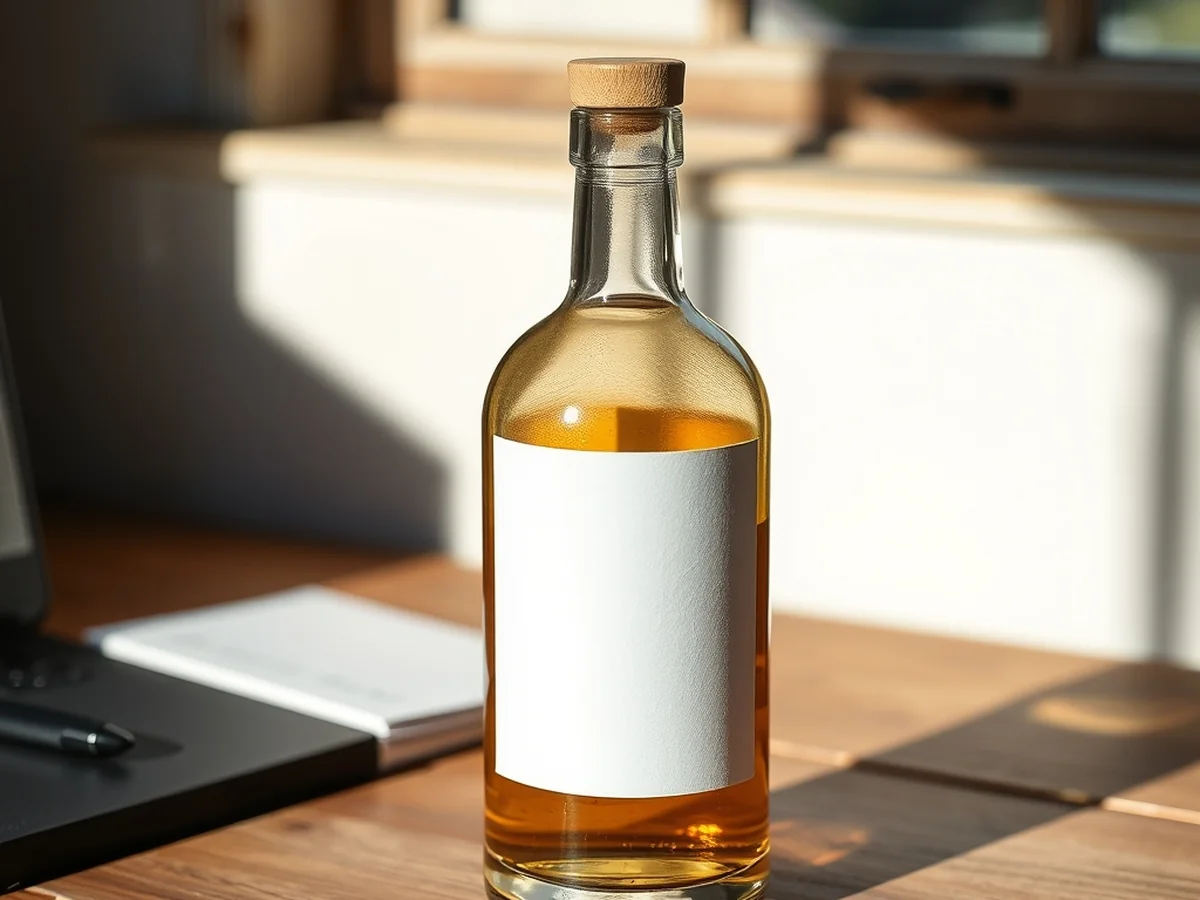
Custom labels transform simple glass bottles into polished culinary gifts that look professionally made. Thoughtful typography and clean layouts elevate the presentation of your kitchen creations, turning a standard DIY project into a keepsake that baking enthusiasts and holiday hosts will genuinely appreciate receiving. Whether you are prepping bottled vanilla flavoring for weekend baking or putting together thoughtful presents, clear packaging makes all the difference.
Measuring and Sizing Your Bottles
Start by measuring your chosen glass bottles before designing any text or graphics. A well-fitted label wraps neatly around the front curve without overlapping the back seam or obscuring the dark liquid inside. Keep the design proportions balanced so the visual elements frame the container rather than overwhelm it. This attention to scale ensures your jars maintain a refined, high-end appearance on any pantry shelf.
Choosing Materials and Printing
Choose waterproof paper stocks for printing because kitchen splashes and condensation during storage can ruin standard paper. Inkjet printers work well when you match the material type to the printer specifications, though laser printing prevents any smudging if moisture touches the surface during daily use or gifting. Selecting the right paper protects your hard work from smearing when handling bottles during active cooking or baking sessions.
Including Essential Details
Include essential details on the packaging such as the date the mixture was bottled and the bean variety used, whether you selected Madagascar vanilla beans or another favorite pod. Adding a simple note about the brewing timeline helps recipients know when the liquid reaches peak flavor, as homemade vanilla extract needs to brew for approximately two months while shaking occasionally. Vanilla beans start their life as green pods on the vanilla orchid, according to guidance shared by the University of Florida Institute of Food and Agricultural Sciences, making it fun to note the specific origin on your custom tags.
Tie a piece of baker twine around the neck of your glass bottles to attach a handwritten gift tag. Pairing the finished jar with a patterned kitchen towel creates a memorable present for weekday lunch preparers and holiday hosts alike. Common mistakes to avoid include applying labels to damp glass surfaces, which prevents proper adhesive bonding, and overcrowding the text area with too many fonts that make the label difficult to read at a glance. Keeping your design clean ensures the natural beauty of the dark extraction shines through every bottle you create.
Creative Gifting and Wrapping Tutorials
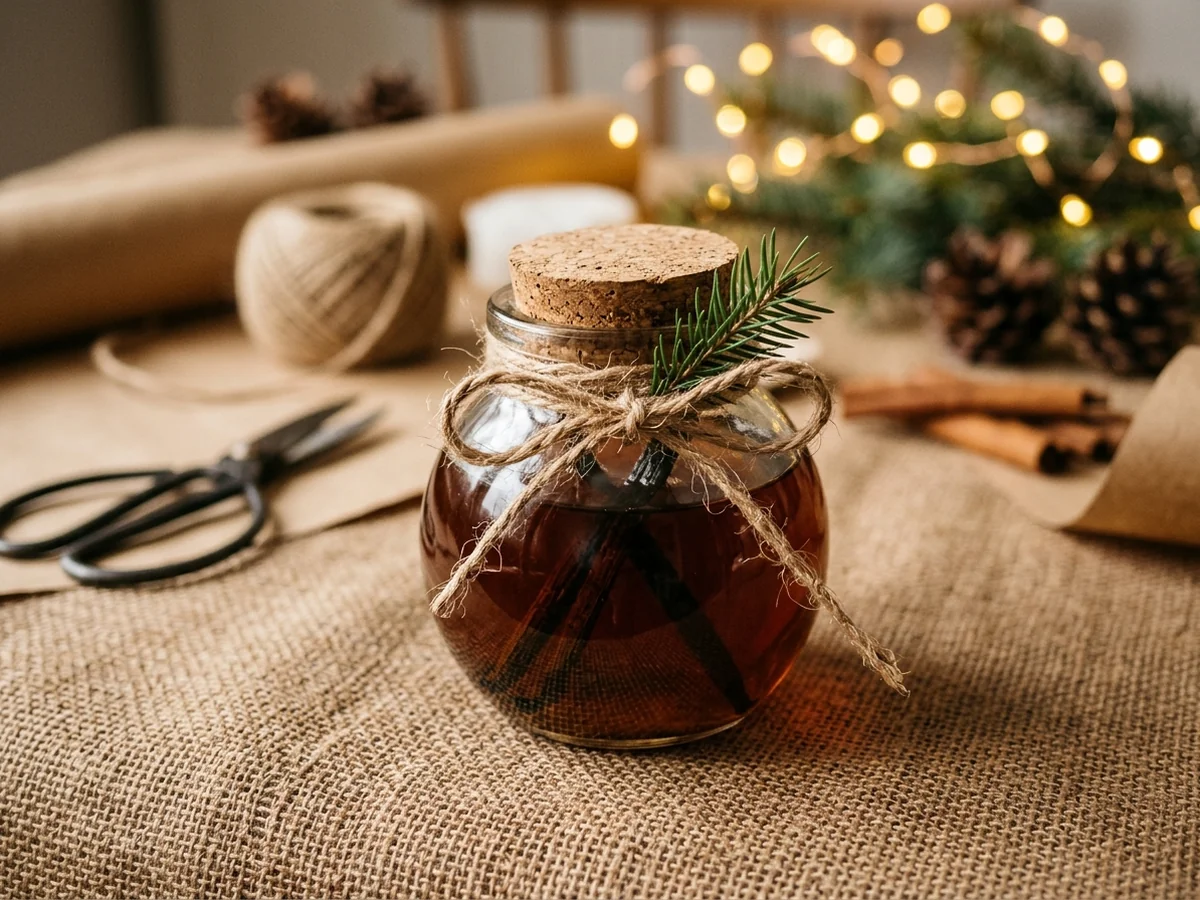
Turning a glass jar of handcrafted vanilla flavoring into a thoughtful present for the holidays, a host, or a weekend gathering requires very few supplies. The goal is to elevate a simple kitchen staple into something special while keeping the process stress-free and straightforward. Thoughtful presentation showcases the care put into crafting the recipe, making the final item feel personal and deliberate. This approach fits naturally into routines focused on elevated weekday lunches and zero daily stress, turning pantry staples into memorable tokens of appreciation.
Selecting the Right Vessels and Textiles
Choosing the right packaging protects the contents while enhancing visual appeal. Clear glass bottles let the rich amber hue and the split vanilla pods shine through, which signals high quality. When assembling gifts in batches, keeping the wrapping steps uniform saves time while maintaining a polished, cohesive look across every jar you hand out.
To begin, combine finished bottles with soft cotton kitchen towels and rustic twine for an elevated presentation. Wrap a neutral or patterned textile securely around the base of the glass, fastening it snugly with a length of natural twine. Tucking a small handwritten label or tag underneath the knot adds a custom element. For an extra seasonal touch, tuck a small sprig of dried greenery or a cinnamon stick directly behind the twine before tying it off.
Designing Custom Labels for DIY Gifts
Clear labeling transforms a basic bottle into a bespoke creation. When preparing your vanilla creations for friends or family, add a tag that notes the date the batch was started and when it finishes brewing. Because standard culinary batches typically need to brew for approximately 2 months while shaking occasionally, marking the readiness date helps the recipient know exactly when the liquid reaches peak flavor.
You can print simple labels on cardstock and punch a small hole in the corner for the twine. Keep the typography clean and legible so the focus remains on the natural beauty of the extract inside. Mentioning the type of bean used, such as Madagascar Bourbon or Tahitian varieties, adds an informative touch for home bakers.
Common Wrapping Mistakes to Avoid
A common mistake during the wrapping phase is tying the twine too tightly around uneven glass necks, which can cause tags to tear or slip out of place. Another misstep is choosing overly bulky fabrics that obscure the bottle completely. Sticking to lightweight cotton or linen towels lets the shape of the container remain visible while adding lovely texture to the overall presentation.
Additionally, remember that heat and light can cause your vanilla batch to turn cloudy or degrade over time. Advise your recipients to store their gifted containers in a cool, dark pantry rather than on a sunny windowsill, ensuring the liquid stays potent and clear for all their baking projects.
Frequently Asked Questions About Vanilla Extract
Which alcohol is best for DIY vanilla extract?
Middle of the road 80 proof vodka like Smirnoff triple distilled works well for the recipe because its neutral flavor profile lets the bean shine. Bakers also frequently use rum or bourbon for a deeper, sweeter background note in baked goods. Selecting the best alcohol for DIY vanilla extract simply comes down to personal flavor preference and the desired end use.
How do I make my own pure vanilla extract?
Making pure vanilla extract requires splitting whole beans down the center, submerging them in a liquor of choice, and storing the container in a dark cupboard. Typical practice follows a standard proportion of about 4 whole vanilla beans per 1 cup of vodka. The mixture needs to brew for approximately 2 months while shaking occasionally to develop full flavor.
How many times can I use the same vanilla beans to make vanilla extract?
You can top off your bottle with fresh liquor several times using the same beans as long as they remain submerged and fragrant. Each subsequent batch will take a bit longer to extract flavor since the beans release their potent oils during the initial steep. Eventually, the pods will lose their aromatic qualities and should be discarded for a fresh batch.
What causes DIY vanilla extract to turn cloudy?
Heat and light can cause DIY vanilla extract to turn cloudy or degrade in flavor over time. Storing your glass bottles in a cool, dark pantry protects the delicate compounds from direct sunlight. Sediment at the bottom is completely normal and simply indicates tiny specks of real bean settling out of the liquid.
Conclusion and Final Kitchen Tips
Crafting your own culinary extracts brings a deeply rewarding touch to kitchen projects, turning simple ingredients into personalized pantry staples and thoughtful gifts. Gathering a few vanilla beans and a standard bottle of neutral spirits is all it takes to begin your first batch with complete confidence. Let the jars steep in a dark cupboard for a couple of months, shake them occasionally, and soon you will have a rich DIY vanilla infusion ready for all your baking needs.
Sources: blogs.ifas.ufl.edu
You might also like: How to Clean Mushrooms Properly: Easy Kitchen Tip