The Best Pumpkin Cheesecake Bars: Rich & Creamy Dessert
Introduction to Pumpkin Cheesecake Bars
Home bakers looking for a comforting seasonal treat will love making pumpkin cheesecake bars during the cooler months. These autumn-inspired treats combine a spiced pumpkin layer with a smooth cream cheese filling, making them a standout favorite for holiday gatherings and weekend baking projects.
This guide covers everything needed to bake a successful batch from scratch. Readers will find clear instructions for preparing a sturdy crust, blending the filling ingredients properly, and achieving the right texture. Helpful tips for slicing and storing ensure the final dessert turns out neat and delicious every single time.
Essential Ingredients for Rich and Creamy Dessert Bars
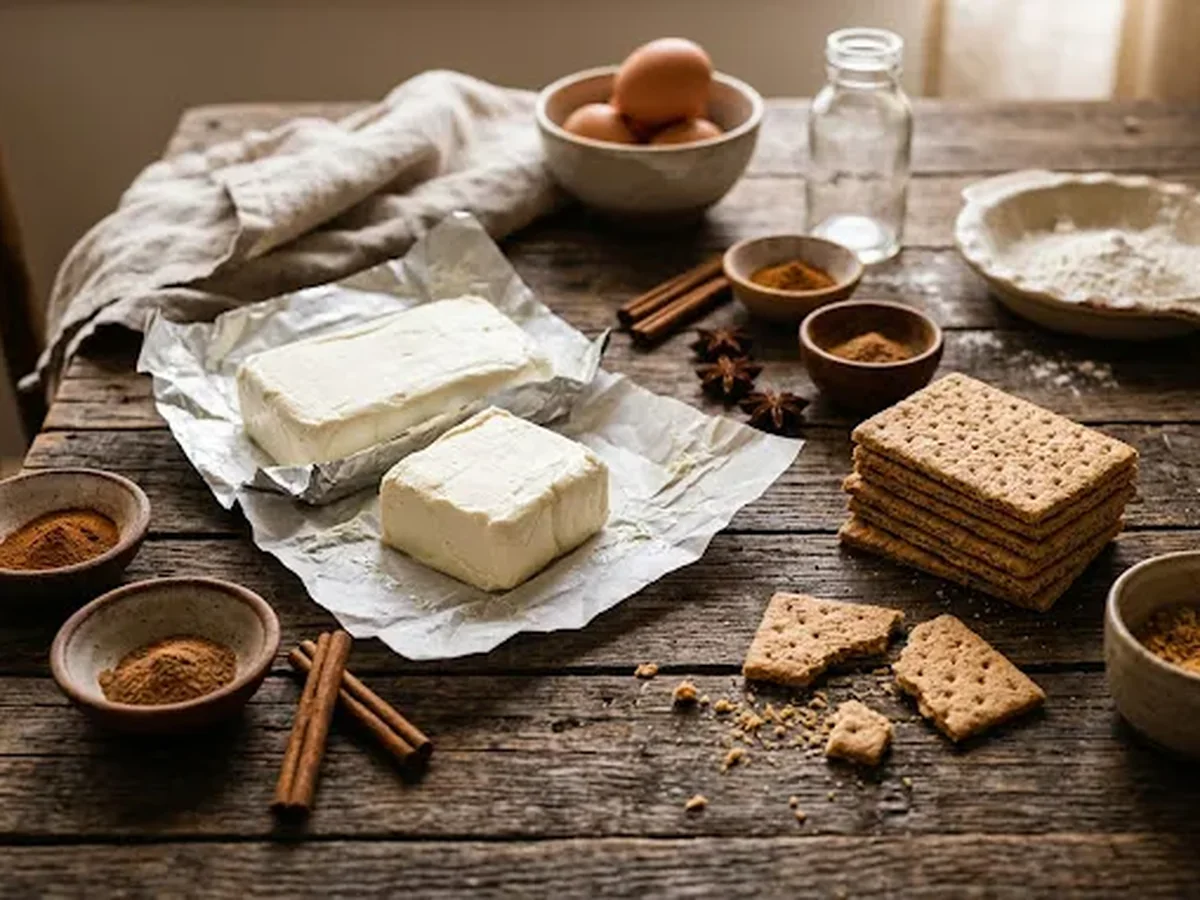
Creating velvety autumn treats relies on choosing quality dairy items and pantry spices that blend into a smooth filling. Selecting full fat cream cheese forms the dense and stable base needed for a sturdy square, while crushing crisp graham crackers provides a classic foundation.
Understanding why each component matters helps home bakers avoid common missteps during preparation. Using the right balance of moisture and fat ensures the filling sets properly without turning watery or overly dense, which is especially important when crafting easy pumpkin cheesecake bars for weekday meal prep or weekend gatherings.
Selecting the Right Dairy and Produce
The foundation of any great dessert bar lies in selecting the proper components. Using block style cream cheese rather than whipped varieties ensures the filling achieves a dense and velvety mouthfeel without excess moisture. Incorporating canned pumpkin puree delivers deep seasonal flavor and moisture without making the mixture overly watery, while a dollop of sour cream lightens the heavy cheese mixture just enough to prevent a rubbery texture while adding a pleasant tang.
Building a Stable Crust
Crushing crisp graham crackers finely and mixing them with melted butter creates a sturdy and flavorful base that supports the heavy filling. For home bakers looking to switch things up, utilizing cake mix shortcuts can offer an alternative base texture. Pouring the prepared batter evenly over the baked crust guarantees uniform slices once the cooling process is complete.
Balancing Spices and Temperature
Measuring out fragrant ground cinnamon adds a warm autumn profile that complements the earthy squash and tangy dairy components. A frequent mistake during preparation involves using cold dairy items straight from the refrigerator. Ingredients blend much more smoothly when allowed to reach room temperature before mixing, which prevents lumps from forming in the batter.
- Using block style cream cheese rather than whipped varieties ensures the filling achieves a dense and velvety mouthfeel without excess moisture.
- Crushing crisp graham crackers finely and mixing them with melted butter creates a sturdy and flavorful base that supports the heavy filling.
- Incorporating canned pumpkin puree delivers deep seasonal flavor and moisture without making the mixture overly watery.
- Measuring out fragrant ground cinnamon adds a warm autumn profile that complements the earthy squash and tangy dairy components.
- Incorporating a dollop of sour cream lightens the heavy cheese mixture just enough to prevent a rubbery texture while adding a pleasant tang.
Baking these autumn squares requires blending every element thoroughly using a standard stand mixer fitted with the paddle attachment. Transferring the mixture into a prepared baking pan and managing oven temperatures carefully prevents surface cracking and guarantees a professional finish.
Graham Cracker Crust Steps
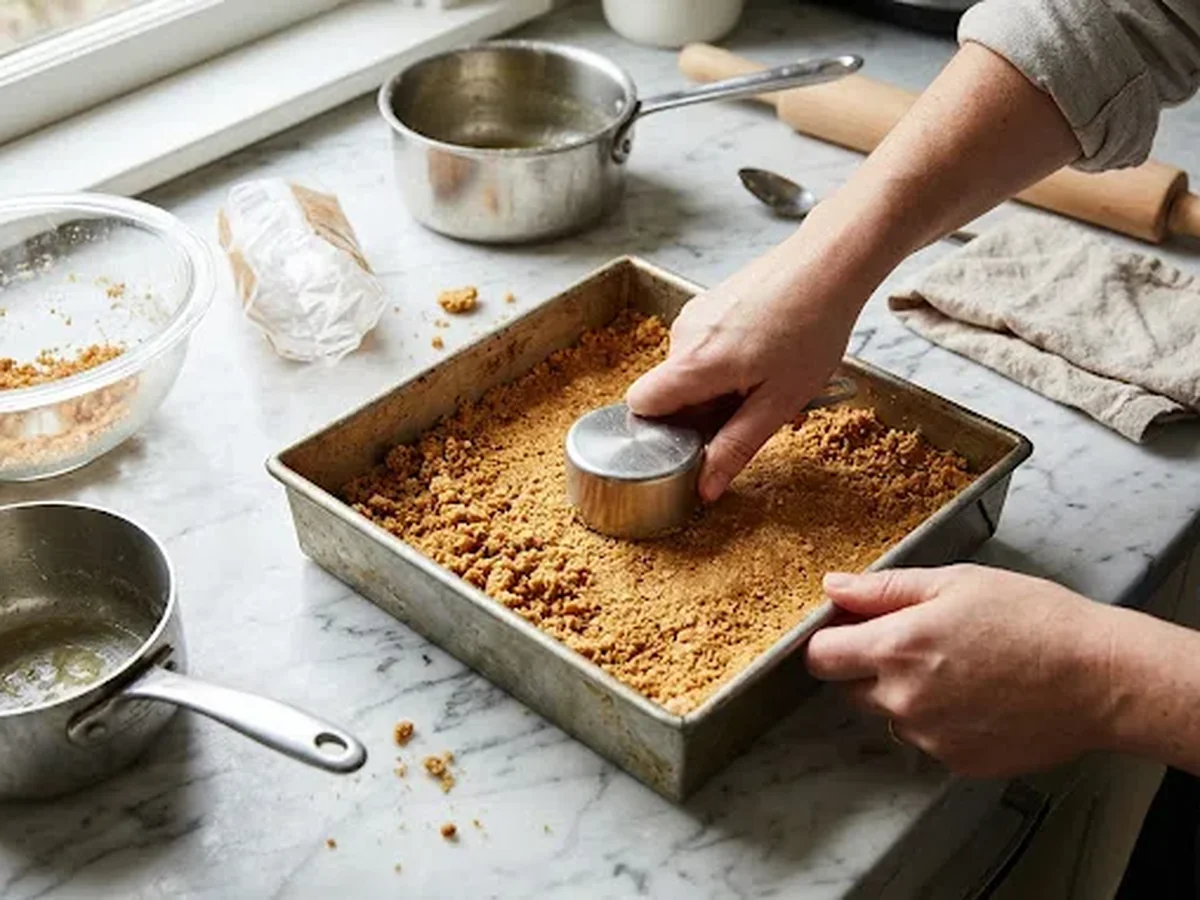
Building a reliable foundation for your pumpkin cheesecake bars starts with the crust, and getting this layer right prevents a soggy or crumbling base. Traditional methods rely on combining finely crushed graham crackers with melted butter and sugar. Why does this step matter so much? The melted butter coats each crumb and binds everything together when chilled or baked, while sugar adds a touch of sweetness and helps the base firm up nicely.
Achieving the Ideal Texture
Achieving the ideal texture requires paying attention to a few practical steps. You want a sandy, even consistency that packs down firmly across the bottom of your baking pan. If the crumbs are too coarse, the base will fall apart when sliced. For a fun alternative to switch up your routine, cake mix shortcuts offer a creative twist. Mixing dry cake mix with butter creates a soft, cookie like crust that brings a completely different flavor profile to your dessert, making it an interesting variation if you want to experiment beyond the standard preparation.
Common Mistakes to Avoid
One common mistake to avoid is pressing the mixture too loosely into the corners. Take the flat bottom of a measuring cup or glass to tamp down the crumbs evenly, ensuring uniform thickness throughout the dish. Additionally, preparing the baking pan properly before adding your crust ensures your finished treats come out without sticking or breaking. Lining the dish with parchment paper and leaving enough overhang on the sides lets you lift the entire batch straight out once chilled, making clean cuts and serving much easier for your guests.
Baking Versus No Bake Bases
Depending on the specific style of dessert you are preparing, your crust approach might shift slightly. Traditional baked versions benefit from a brief stint in the oven to set the butter and sugar combination, creating a sturdier crunch that holds up well against rich layers of cream cheese filling, canned pumpkin puree, and warm ground cinnamon. On the other hand, refrigerated or no bake styles rely heavily on thorough chilling in the refrigerator to allow the butter to solidify completely. Taking time to let the base firm up properly ensures your slices hold their shape when you pull them from the pan.
Preparing the Cream Cheese Filling and Stand Mixer Techniques
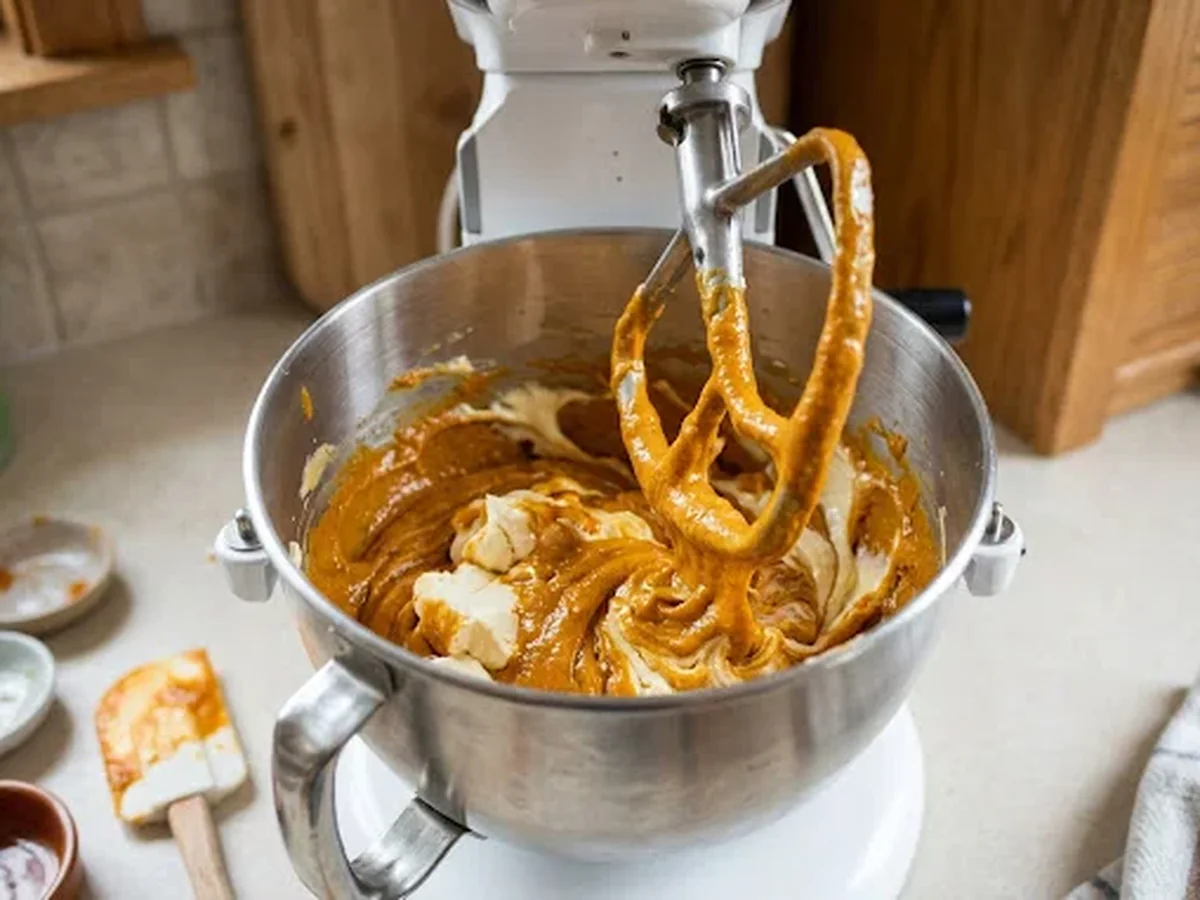
Achieving a velvety, smooth texture for your seasonal desserts starts long before the baking pan goes into the oven. When making pumpkin cheesecake bars, the most critical step is ensuring your cream cheese softens completely at room temperature. Cold dairy resists blending, which leaves stubborn lumps in the batter that ruin the final mouthfeel. Using a stand mixer equipped with the paddle attachment helps incorporate air properly without overworking the mixture.
Begin by beating the softened blocks of cream cheese on medium speed until the dairy turns completely fluffy. Make it a habit to stop the machine and scrape down the sides of the bowl frequently. This ensures that every bit of cream cheese gets evenly aerated and prevents unmixed pockets from hiding at the bottom of the bowl. Once the base is smooth, you can fold in your canned pumpkin puree along with ground cinnamon and other warm spices, blending on a moderate speed until the spices distribute evenly.
Adding eggs requires extra care during the mixing phase. Introduce eggs one at a time while keeping the mixer running on low speed. This prevents too much air from incorporating into the batter, which is the primary reason desserts puff up and crack on top during baking. If you are preparing treats for family gatherings or working on a batch of easy pumpkin cheesecake bars, taking your time with these mixing stages guarantees a decadent, sliceable result every single time.
Home bakers often run into common mistakes during this stage, such as rushing the softening process or mixing the eggs too quickly at high speeds. Sticking to low speeds after the dairy and pumpkin puree are combined keeps the structure dense and creamy. Whether you prefer a classic graham cracker crust or want to experiment with alternative bases, mastering the filling technique ensures your autumn baking projects turn out delicious and visually appealing.
Baking Temperatures, Times, and Altitude Adjustments
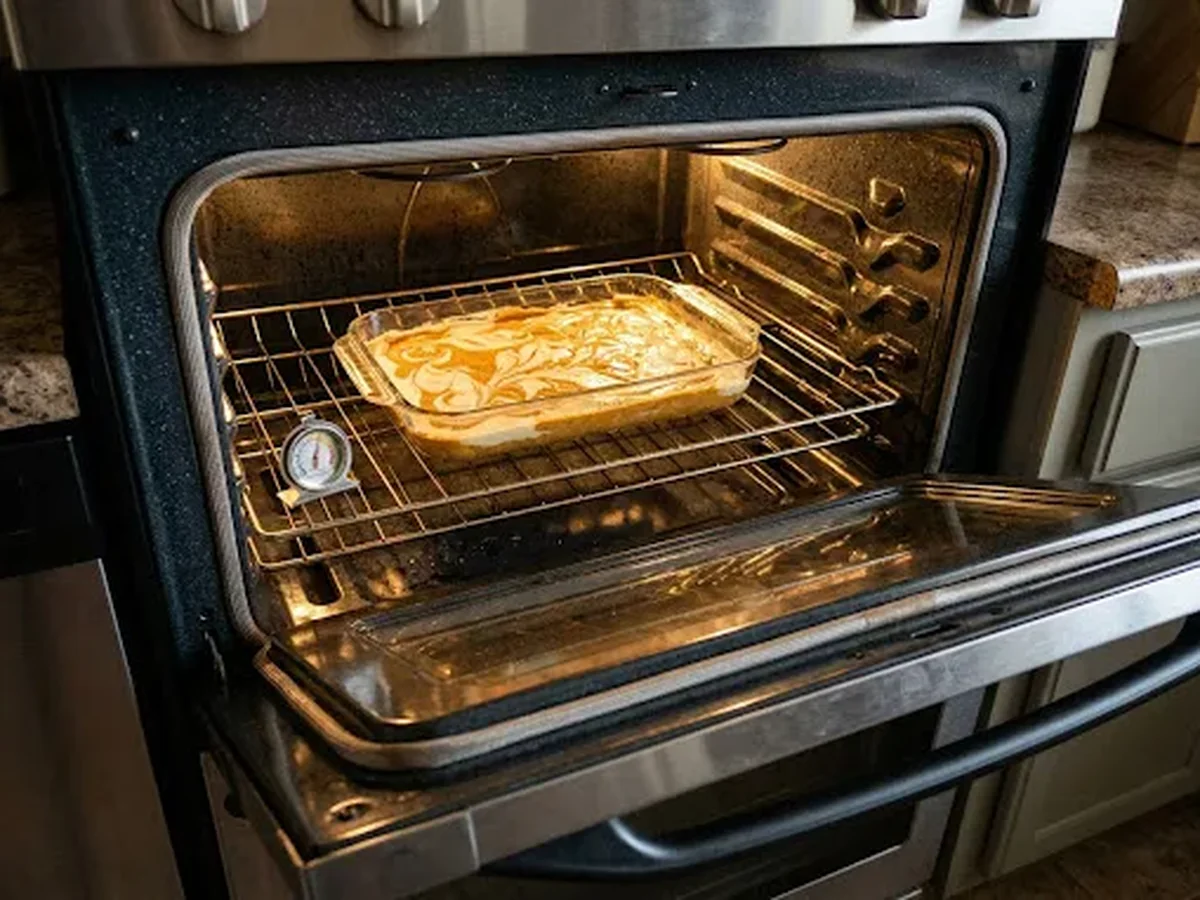
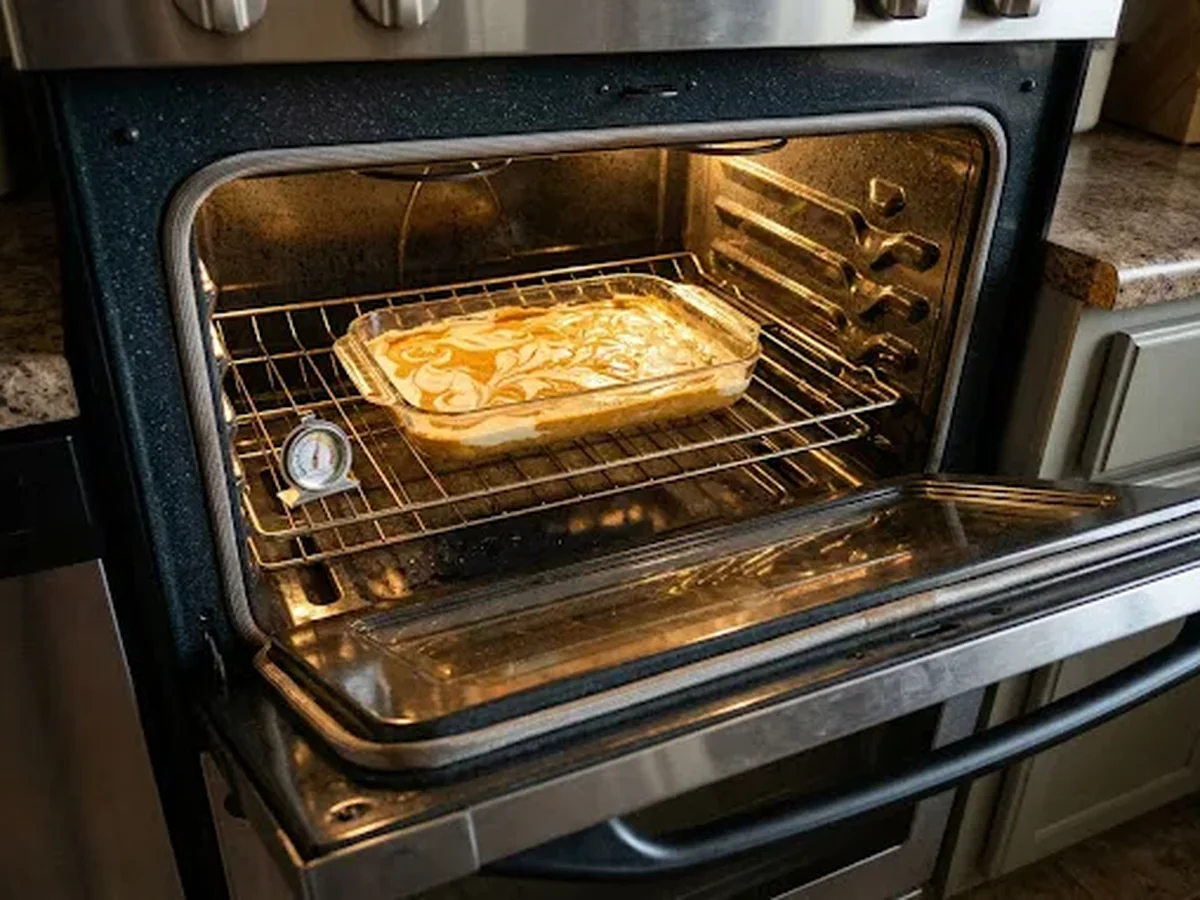
Mastering the oven phase is essential when preparing pumpkin cheesecake bars to ensure the graham cracker crust stays crisp and the spiced filling achieves a smooth, velvety consistency without burning at the edges. Standard kitchen ovens typically perform best at moderate heat levels, allowing the cream cheese filling and crushed graham crackers to bake evenly from the outside inward. Rushing this process with high heat often results in uneven textures and split surfaces.
Understanding why cracks happen helps home bakers troubleshoot common dessert problems. Surface splitting usually occurs when the oven temperature is too high, causing the batter to expand too quickly, or when the finished dessert experiences a sudden drop in temperature. You can prevent structural flaws by avoiding overbeating the batter, which incorporates excess air pockets that expand and collapse during baking. Allowing the pan to cool gradually inside the turned off oven helps the custard structure settle safely.
Baking at high altitudes introduces unique challenges because reduced air pressure changes how moisture evaporates and how batters rise. Bakers living in elevated mountain regions generally need to make slight adjustments to their standard baking routine, such as increasing the oven temperature slightly while shortening the overall bake time. Adding a small amount of extra flour or starch can also provide necessary structural stability for your dessert when baking in thin mountain air.
To achieve the best results every time, follow these practical steps during your baking session:
- Preheat your oven completely before placing the baking pan inside to ensure an even initial heat distribution.
- Mix the cream cheese filling ingredients on a low speed to prevent trapping excess air that leads to surface cracks.
- Monitor the center of the pan closely toward the end of the baking time, as the bars should still have a slight jiggle when you turn off the heat.
- Cool the dessert slowly by cracking the oven door or letting the pan rest on the counter before moving it to the refrigerator.
A common mistake to avoid is cutting the pumpkin cheesecake bars while they are still warm. Warm cream cheese and canned pumpkin puree lack the firmness needed to hold clean slices, which can ruin the presentation of your dessert. Chilling the pan thoroughly after it reaches room temperature allows the treats to firm up properly for clean, sharp edges.
Popular Variations: Streusel Top and Chef Inspirations
Home bakers often elevate their seasonal treats by adding a crunchy streusel topping or by exploring famous chef recipes. These adjustments transform a standard pan of pumpkin cheesecake bars into an impressive dessert for family gatherings, autumn dinner parties, and casual weekend treats.
Adding a crumb topping introduces a wonderful texture contrast to the smooth filling below. Bakers typically combine flour, butter, brown sugar, and spices like ground cinnamon into a coarse meal before sprinkling it generously over the spiced batter before it goes into the oven. This method adds a buttery crunch that balances the rich cream cheese and canned pumpkin puree.
Home cooks frequently look toward well-known media personalities for flavor inspiration. Recreating popular kitchen styles, such as pumpkin cream cheese bars Pioneer Woman, brings a familiar and comforting touch to home baking. These variations often focus on rich dairy elements and cozy autumn spices that highlight the seasonal theme.
Culinary enthusiasts also experiment with copycat versions of popular chef recipes to replicate restaurant-quality sweets at home. Adjusting the ratio of spices or incorporating unique crust elements helps achieve a distinct flavor profile that satisfies any craving for autumn desserts.
When preparing these variations, home bakers often encounter a few common missteps that can alter the final result. Overmixing the batter introduces too much air, which causes the surface to puff up and crack as it cools. Another frequent oversight involves rushing the chilling process. Allowing the pan to cool completely at room temperature before transferring it to the refrigerator ensures a firm texture and clean slices.
For those aiming to personalize their baking projects further, experimenting with crust alternatives offers endless creative potential. While a classic graham cracker crust remains a reliable favorite, substituting crushed ginger snaps or incorporating dry cake mix shortcuts creates entirely new flavor dimensions. Pairing these inventive crusts with a rich cream cheese layer and a spiced streusel topping guarantees a memorable dessert experience for any autumn occasion.
Cooling, Chilling, and Freezer Storage Guidelines
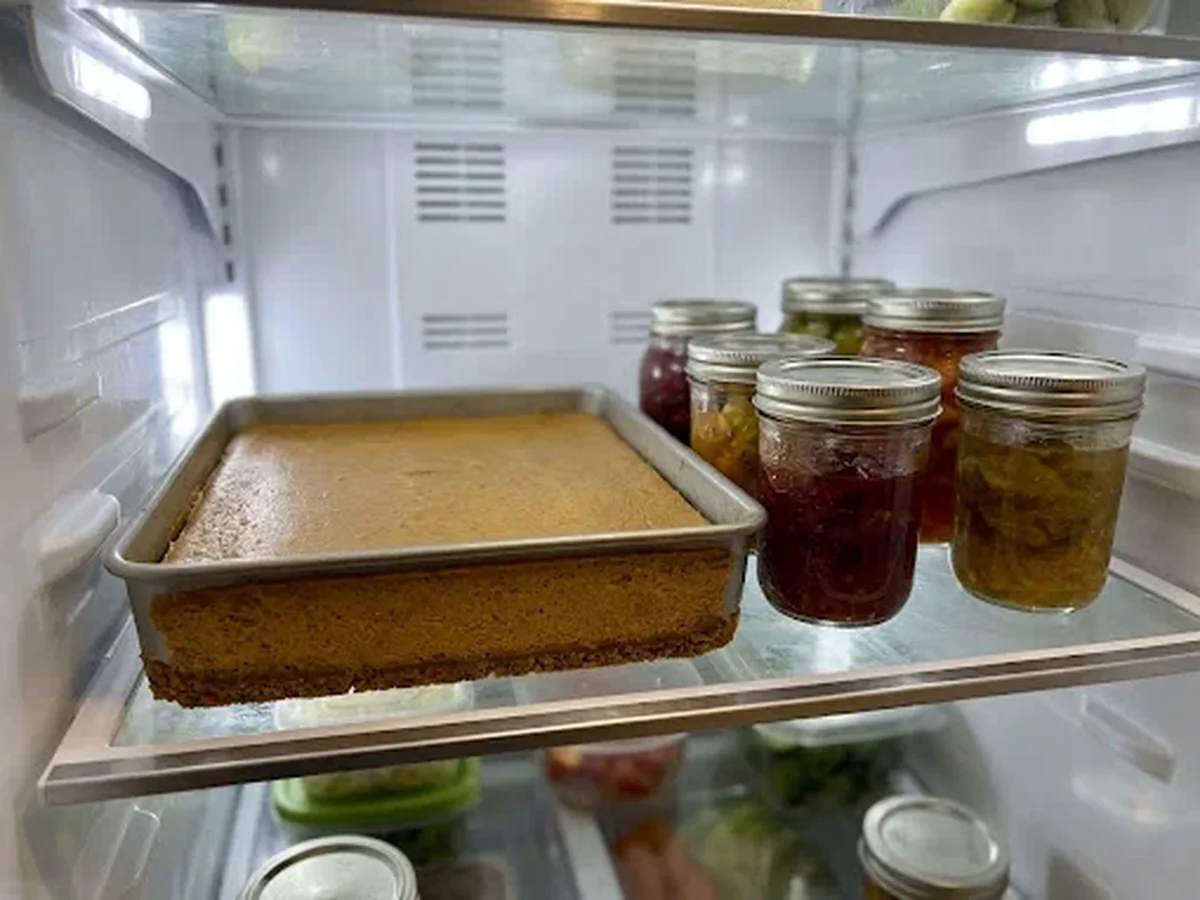
Proper cooling steps and consistent chilling times keep your pumpkin cheesecake bars structurally sound and free from excess moisture. Managing temperature transitions prevents condensation from pooling on top of the dessert, which ruins the texture and appearance. Taking your time with each stage ensures that every square retains its creamy consistency and clean edges without becoming soggy.
Start by letting the baking pan cool completely at room temperature, making sure to keep it away from drafts that can cause uneven cooling. Cover the pan loosely once it reaches room temperature, and transfer it to the refrigerator to chill thoroughly before cutting. Cold temperatures firm up the rich filling made from cream cheese and canned pumpkin puree, allowing you to make clean slices without dragging crumbs across the pan.
Room Temperature Transition
Allowing the baked dessert to cool gradually on a wire rack prevents thermal shock to the delicate custard filling. Placing a hot pan straight into a cold refrigerator creates trapped steam that settles back onto the surface as unwanted water droplets. Keep the baking pan away from open windows or drafts so the edges and center lose heat at an even rate.
Refrigerator Chilling Steps
Once the pan feels completely cool to the touch, cover the top loosely with parchment paper or foil to protect the surface while it sets in the refrigerator. A thorough chill gives the cream cheese and spices time to firm up completely. This resting phase is essential when working with a graham cracker crust, as it stabilizes the buttery base and prevents the slices from crumbling apart during the cutting process.
Long Term Freezer Storage
If you want to save your baked goods long term, wrap individual squares tightly in parchment paper and foil. Proper freezer storage preserves flavor and prevents freezer burn, allowing you to enjoy your treats weeks later after a short thaw in the refrigerator. Common mistakes to avoid during this process include wrapping the bars while they are still warm, which traps steam, and skipping the initial refrigerator chill before moving the dessert to the freezer.
Serving and Cutting Tips
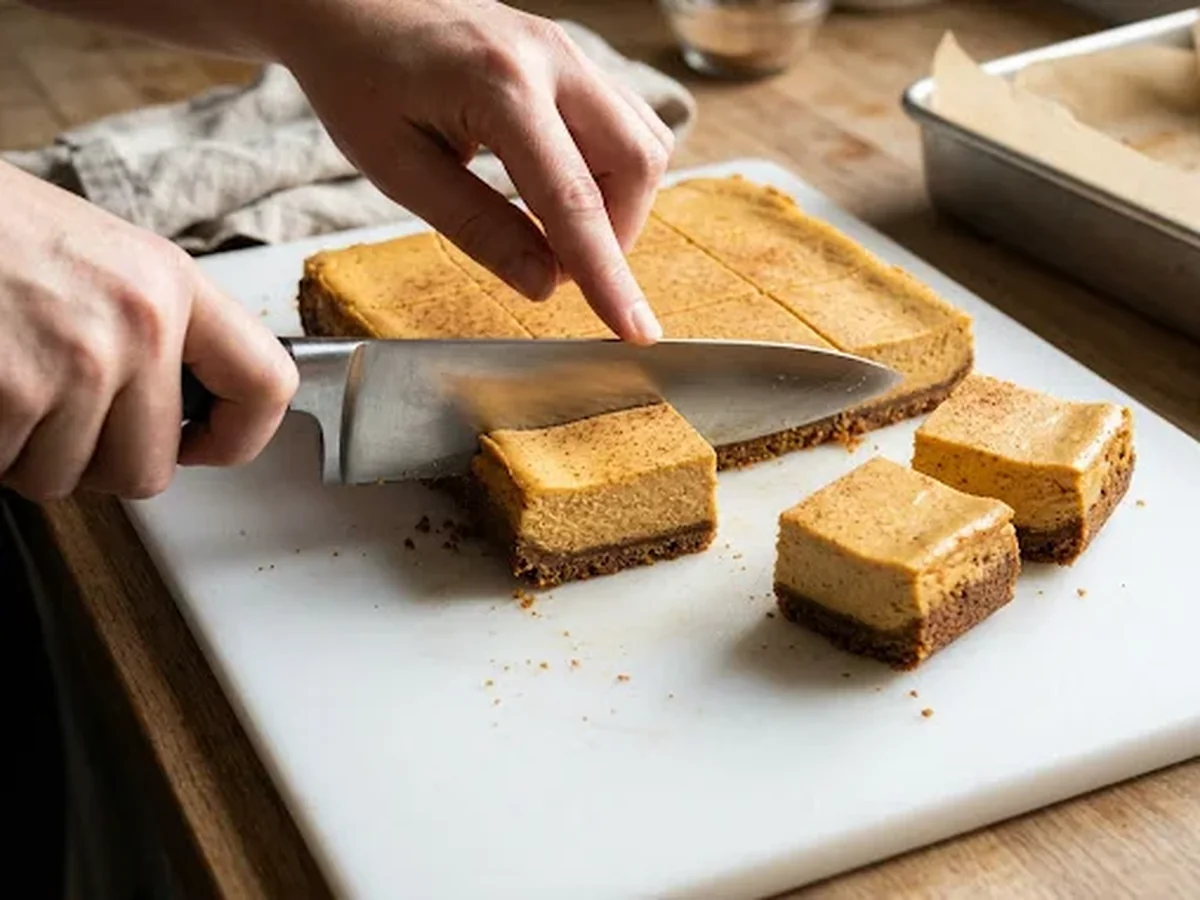
Achieving clean, bakery-quality slices of your homemade autumn squares comes down to proper temperature control and knife technique. A fully chilled dessert yields the sharpest cuts because the rich cream cheese filling, spiced pumpkin layer, and the buttery graham cracker crust firm up completely in the refrigerator. Before portioning, let the baking pan rest on the counter for a short while to take off the extreme chill, which prevents the crust from shattering under pressure.
Mastering Knife Technique for Clean Slices
The right tool makes all the difference when slicing rich desserts like these spiced treats. Start with a long, thin chef knife, and submerge the blade in a tall glass of hot water. Wipe the blade entirely dry with a clean kitchen towel between every single cut. The residual heat helps the metal glide effortlessly through the spiced pumpkin layer and the dense cream cheese filling without dragging crumbs or leaving ragged edges on the sides of your treats.
Avoiding Common Pitfalls
Home bakers often encounter a few common pitfalls when prepping their autumn bakes for guests and family lunches. Cutting into the pan too early while the center is still soft causes the layers to smear together. Pressing straight down instead of using a smooth downward motion can crush the graham crackers and ruin the clean presentation. Taking your time between slices ensures that every square looks just as impressive as the flavor tastes.
Storage and Cleanup Tips
Maintaining the visual appeal of your baked goods extends to how you store leftovers between meals. If you are portioning treats ahead of a busy weekday or packing items into a grab-and-go meal prep container, place small strips of parchment paper between the squares to keep the delicate edges intact. Always wipe your knife clean and dry it thoroughly before making the next motion, as trapped moisture on the blade is the primary reason crumbs stick to the sides of the bars.
Frequently Asked Questions About Pumpkin Cheesecake Bars
Can I make pumpkin cheesecake bars with cake mix?
You can use a boxed cake mix as a convenient shortcut for the crust or base layer of your dessert. Simply combine the dry mix with melted butter and press it firmly into your baking pan before adding the spiced cream cheese filling.
What is the best recipe for pumpkin cheesecake bars?
The best version balances a crisp graham cracker crust with a velvety blend of cream cheese, canned pumpkin puree, and warm spices like ground cinnamon. Baking the ingredients just until set and chilling them thoroughly yields the most dependable slicing texture.
Why were cheesecake bars discontinued?
Commercial pre-packaged baked treats of this style are often pulled from grocery shelves due to shifting consumer demand, low retail sales, or changing manufacturer supply chains. Brands frequently rotate seasonal treats to make room for newer product lines.
How do you make Pioneer Woman’s pumpkin cream cheese bars?
Replicating this popular chef style involves pressing a spiced yellow cake or cookie crumb base into a pan, then layering it with a rich whipped filling. A stand mixer helps blend the cream cheese, pumpkin, and flavorings smoothly before baking.
Conclusion
Successful seasonal baking relies on careful chilling and balancing warm spices with rich dairy ingredients. Gather your canned pumpkin puree, cream cheese, and baking pan to whip up a batch this weekend. Baking a pan of these spiced seasonal treats at home is a rewarding project that brings cozy autumn flavors right to your kitchen.
You might also like: Homemade Maple Apple Butter Recipe: Cozy Fall Spread